When you purchase through links on our site, we may earn an affiliate commission.Heres how it works.
Prices start at less than $2.50 a month.
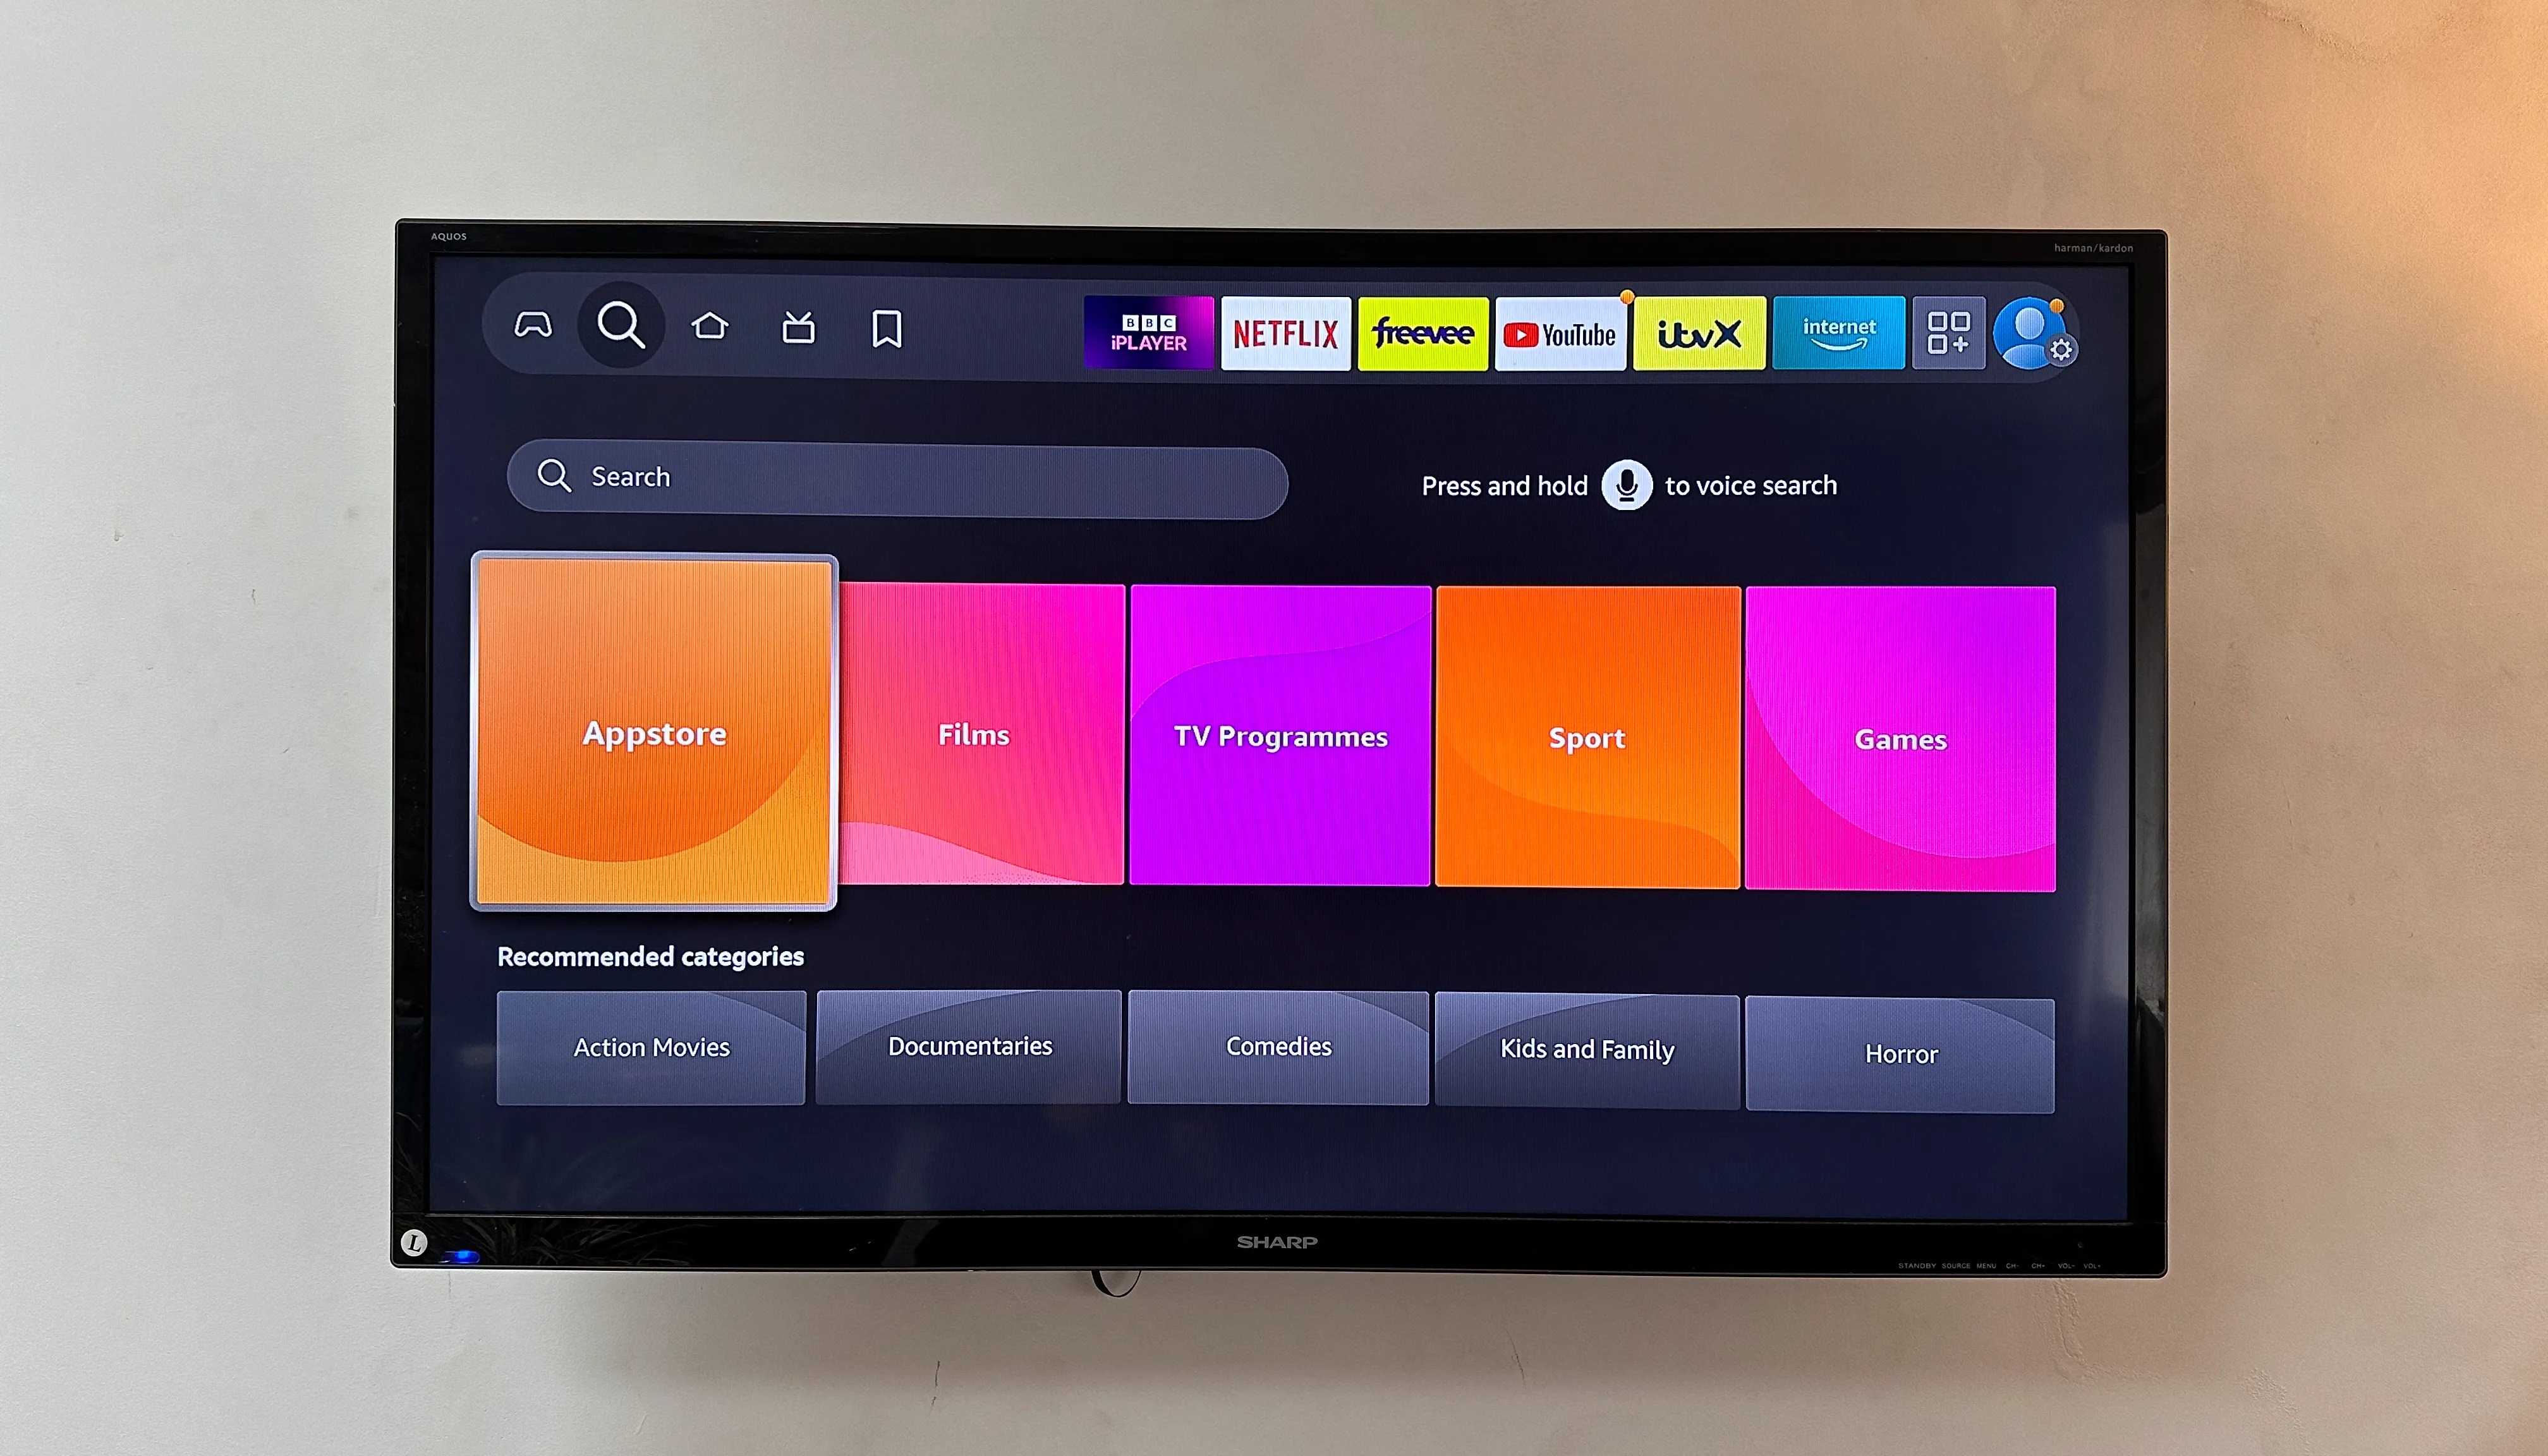
It’s the big orange square.
(Image credit: Future)
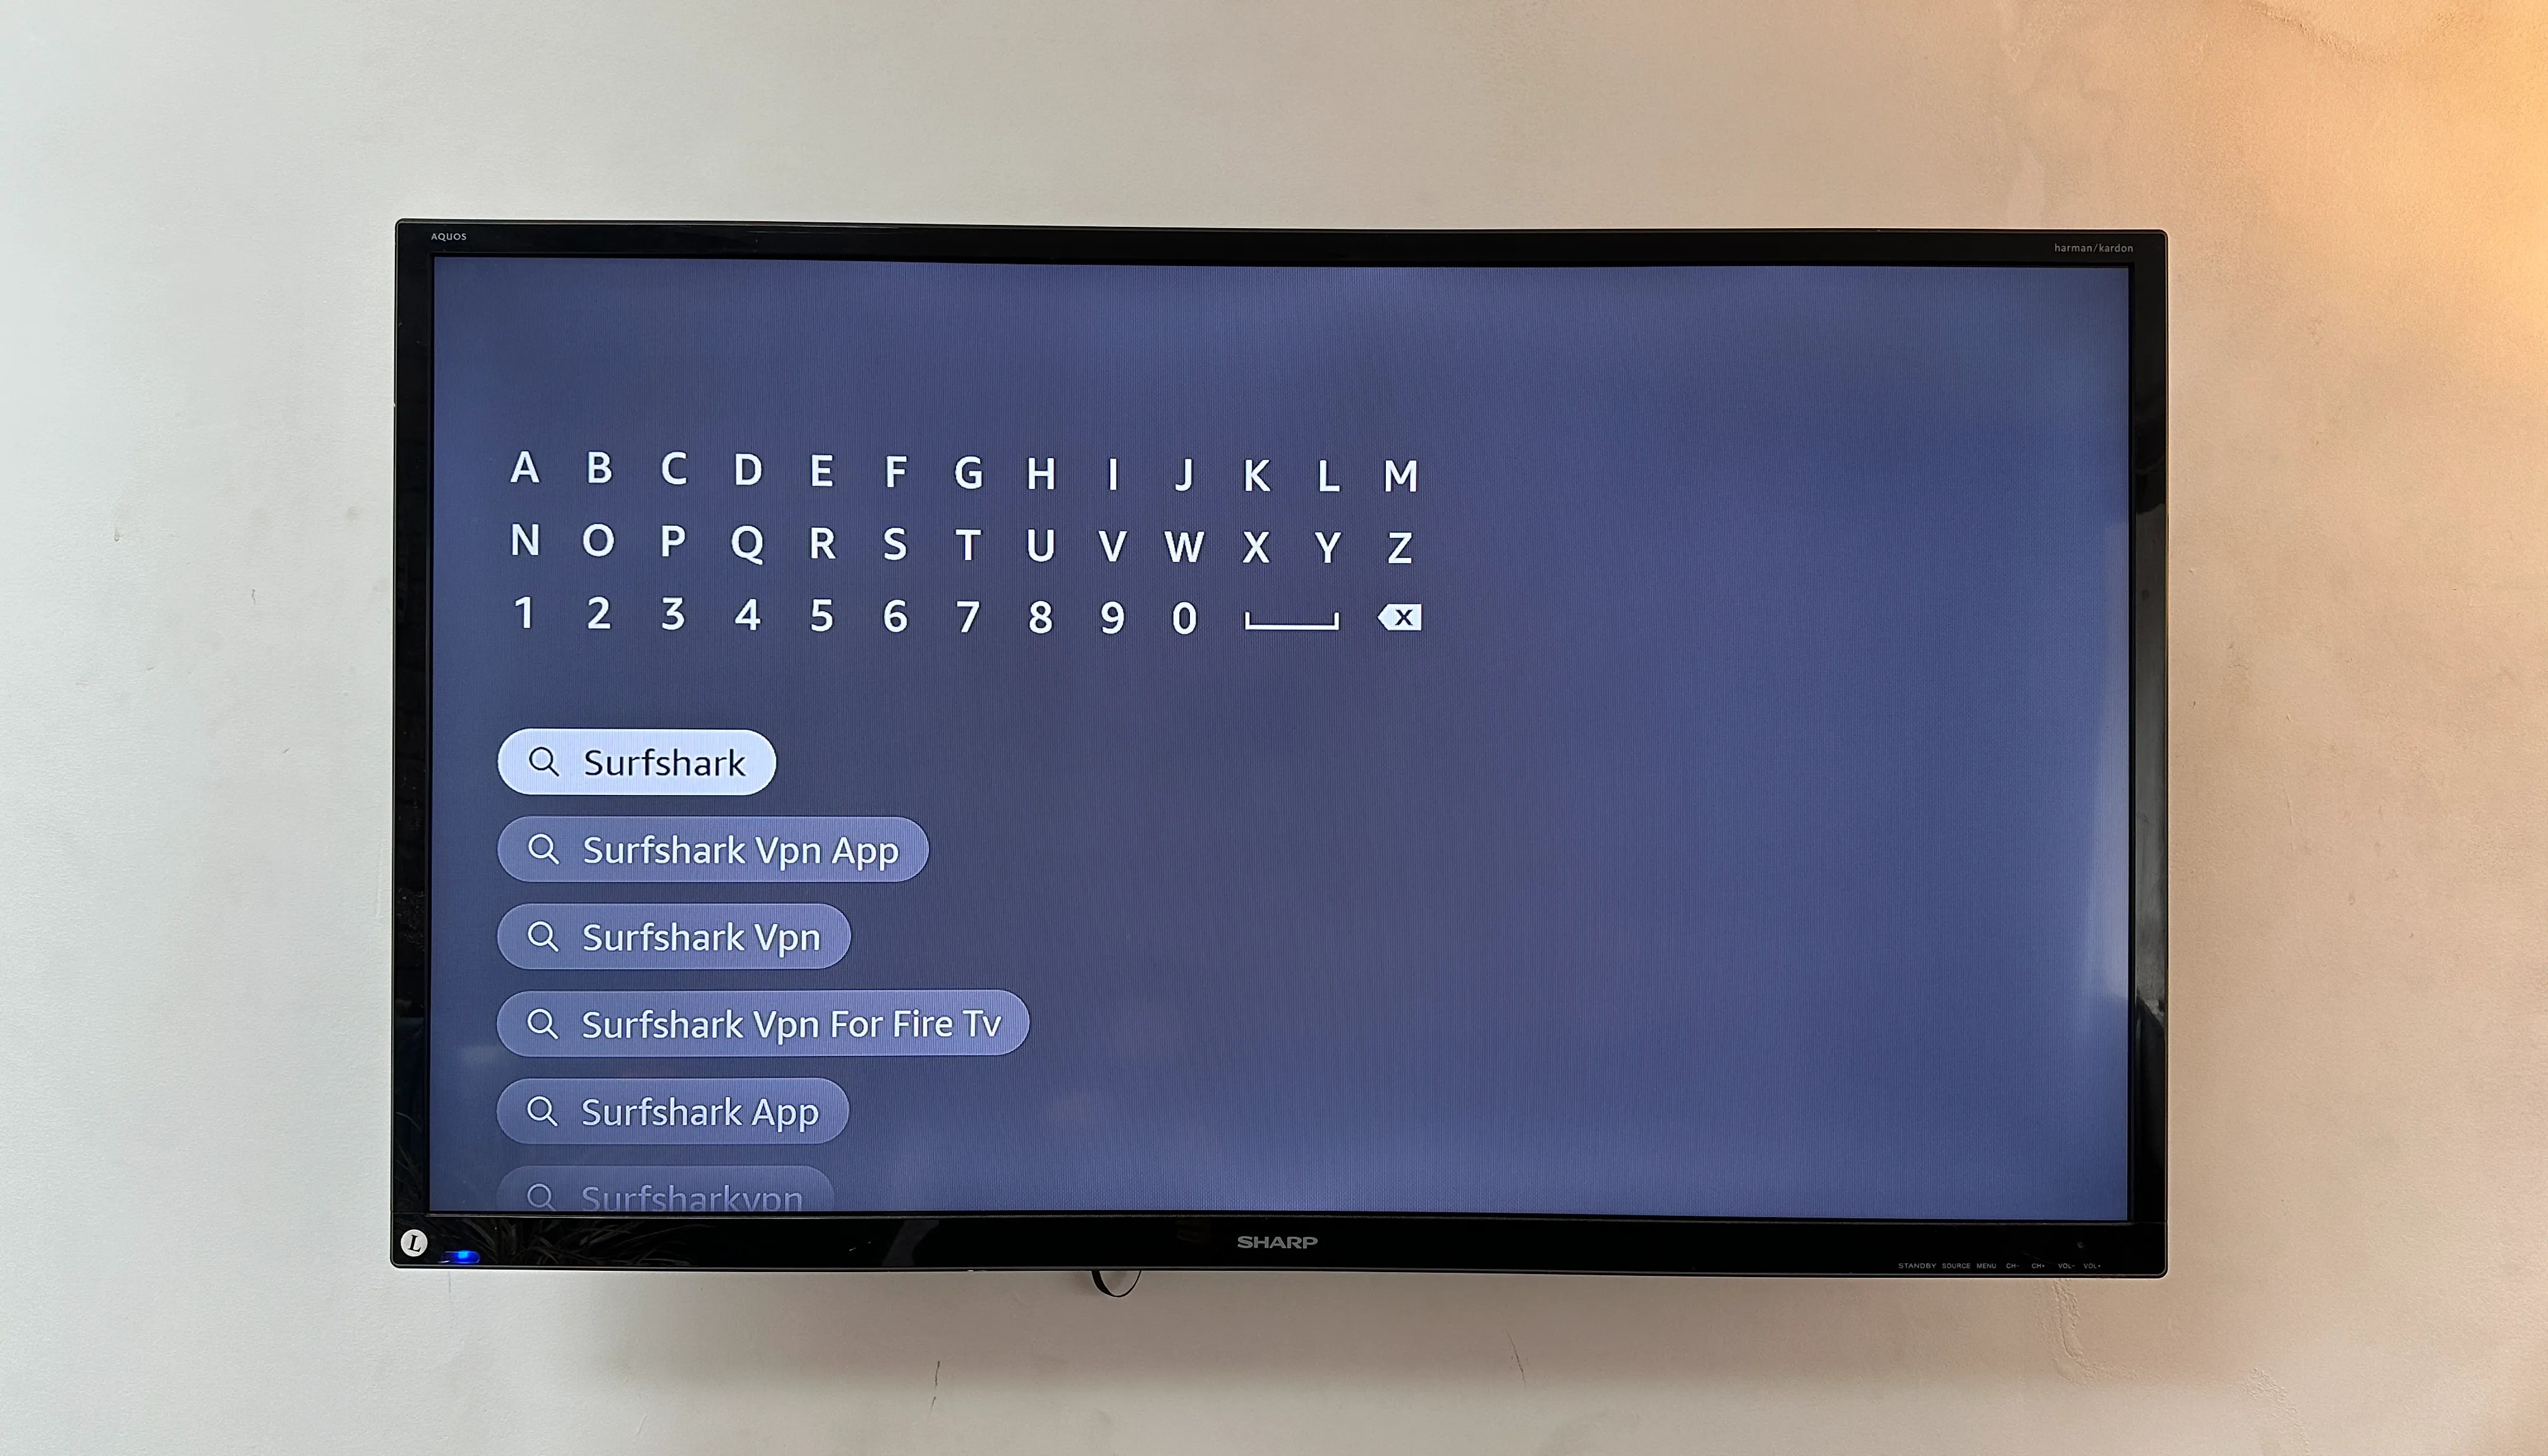
Head to the search bar, and punch in in “Surfshark”.
Since Surfshark has an Amazon-approved system, you won’t need to mess around with sideloading.
The Surfshark app will probably be the first app displayed in the search results.

(Image credit: Future)
While I couldn’t find any dodgy copycat apps, it’s always good to be careful.
Click “Download”, and the app will start downloading onto your Fire Stick.
It will automatically install once the download is complete.
(Image credit: Future)
When that’s finished, you’re ready to go!
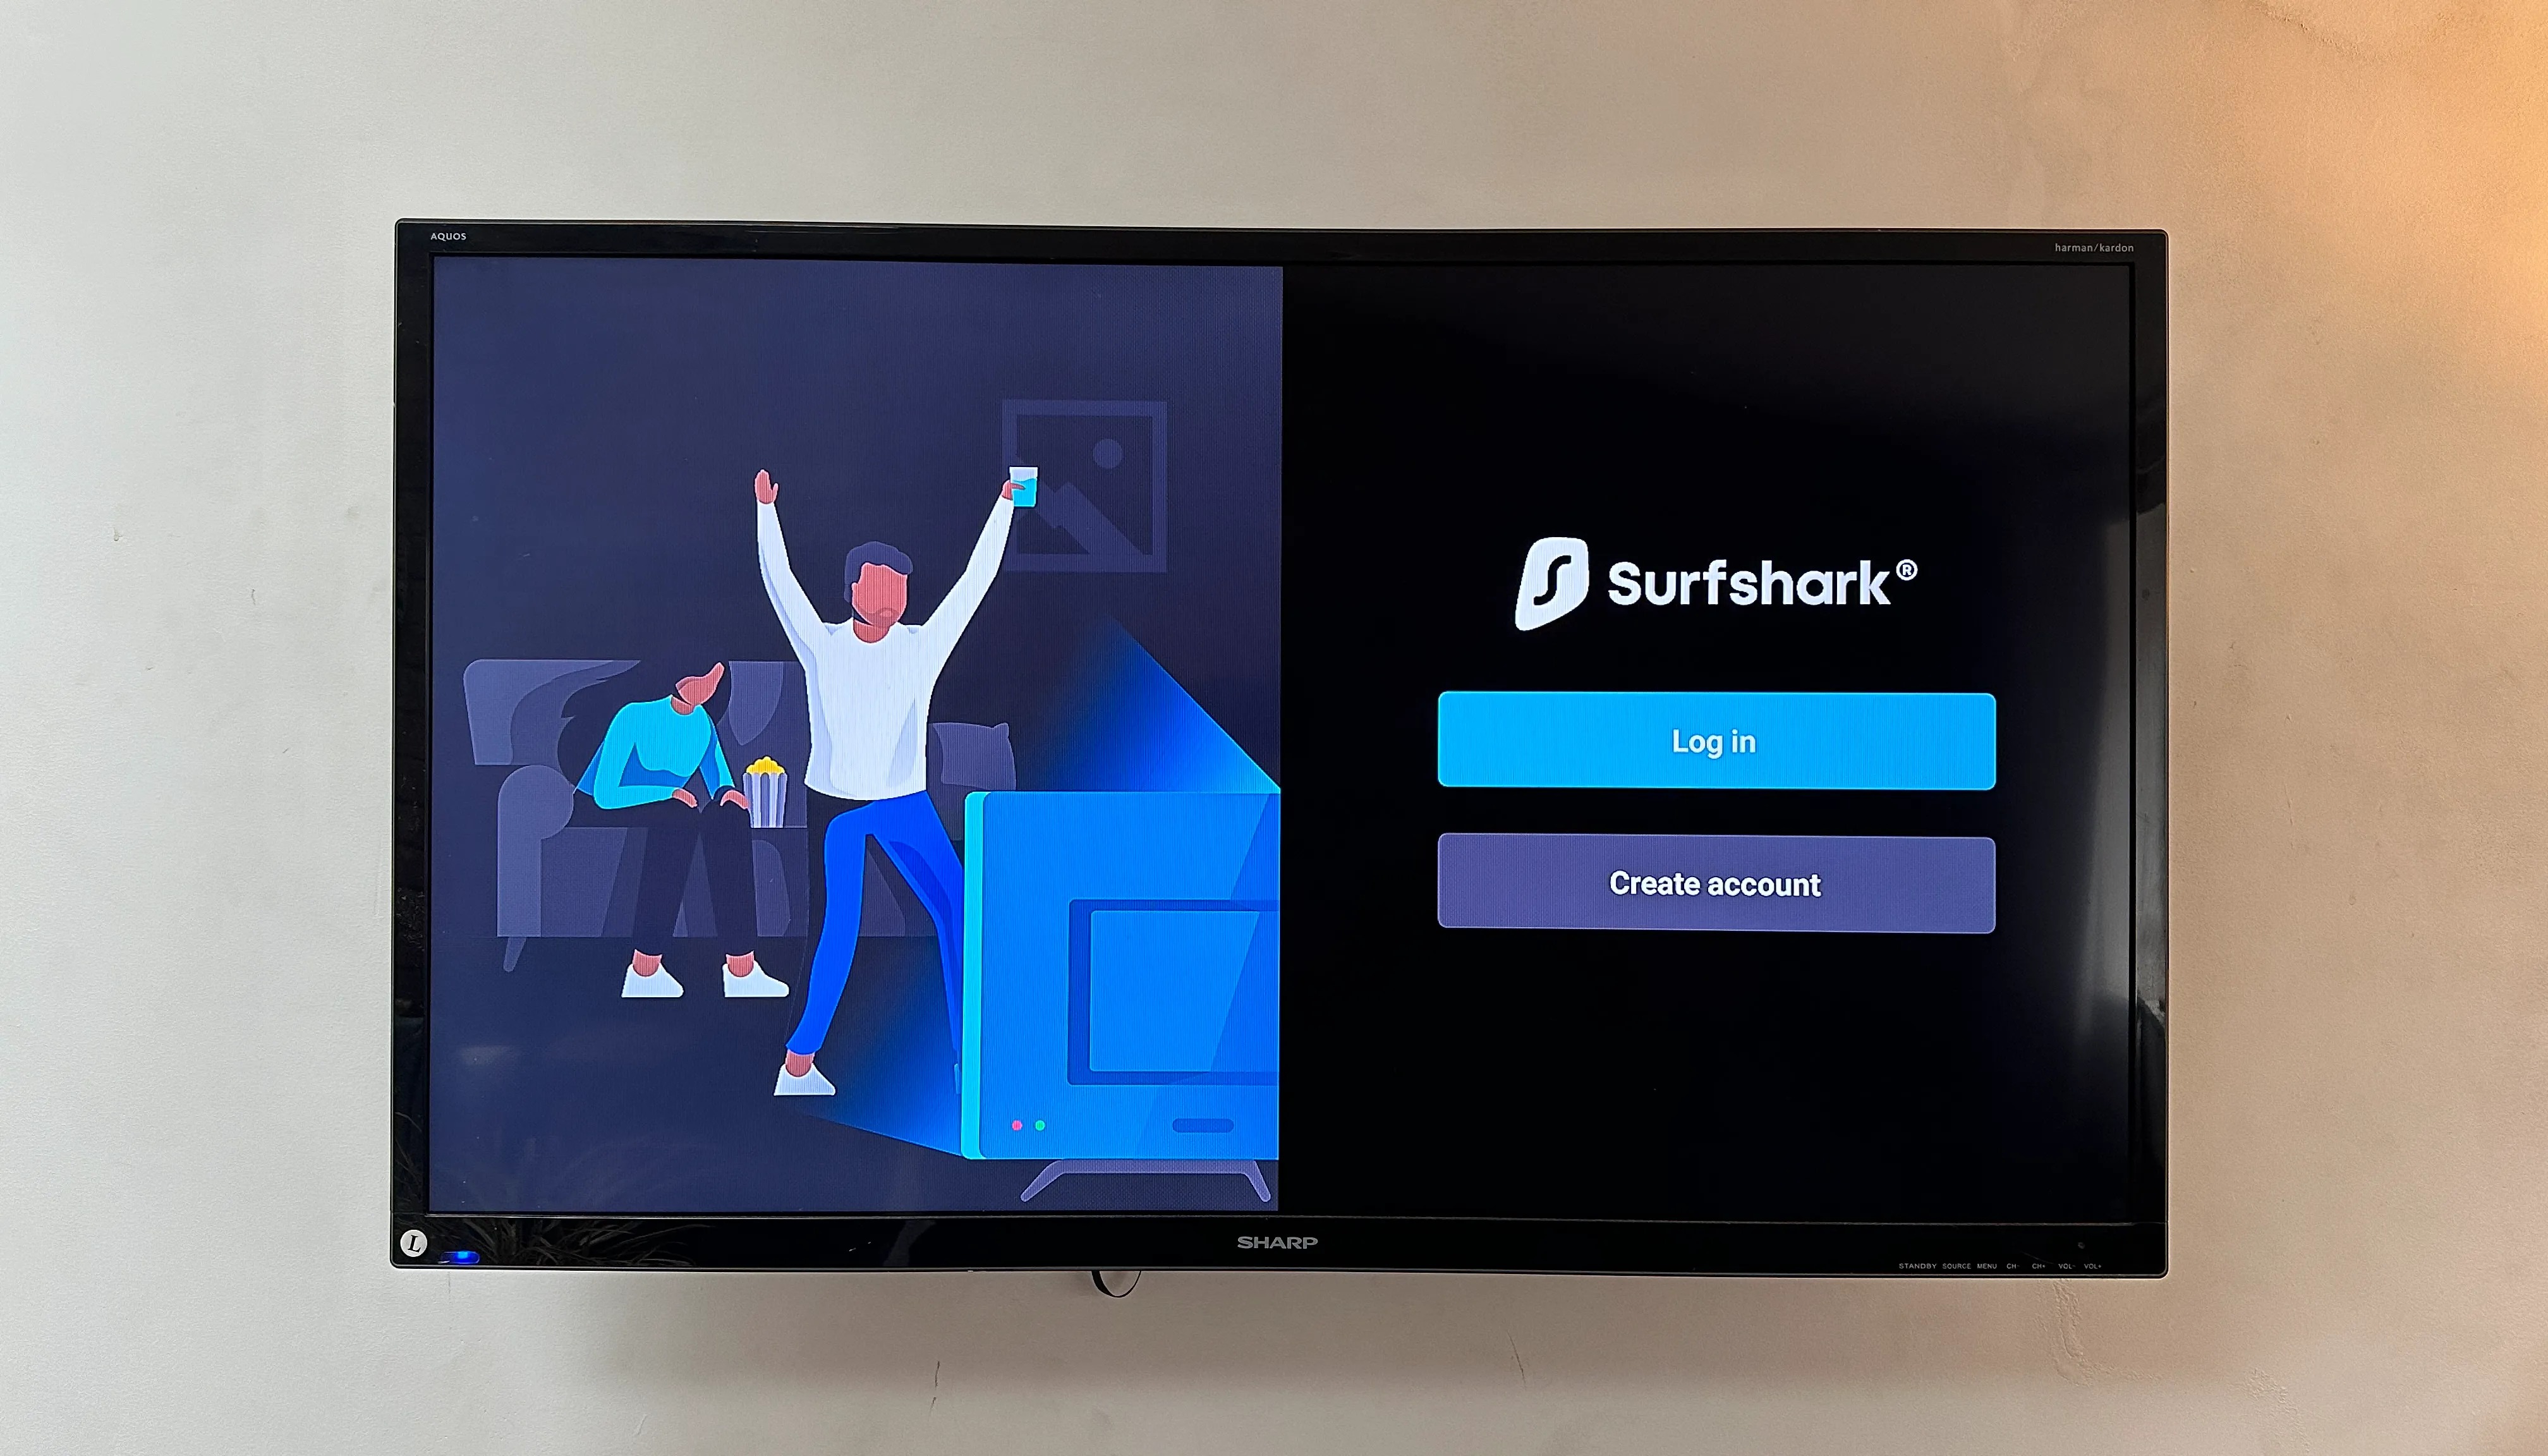
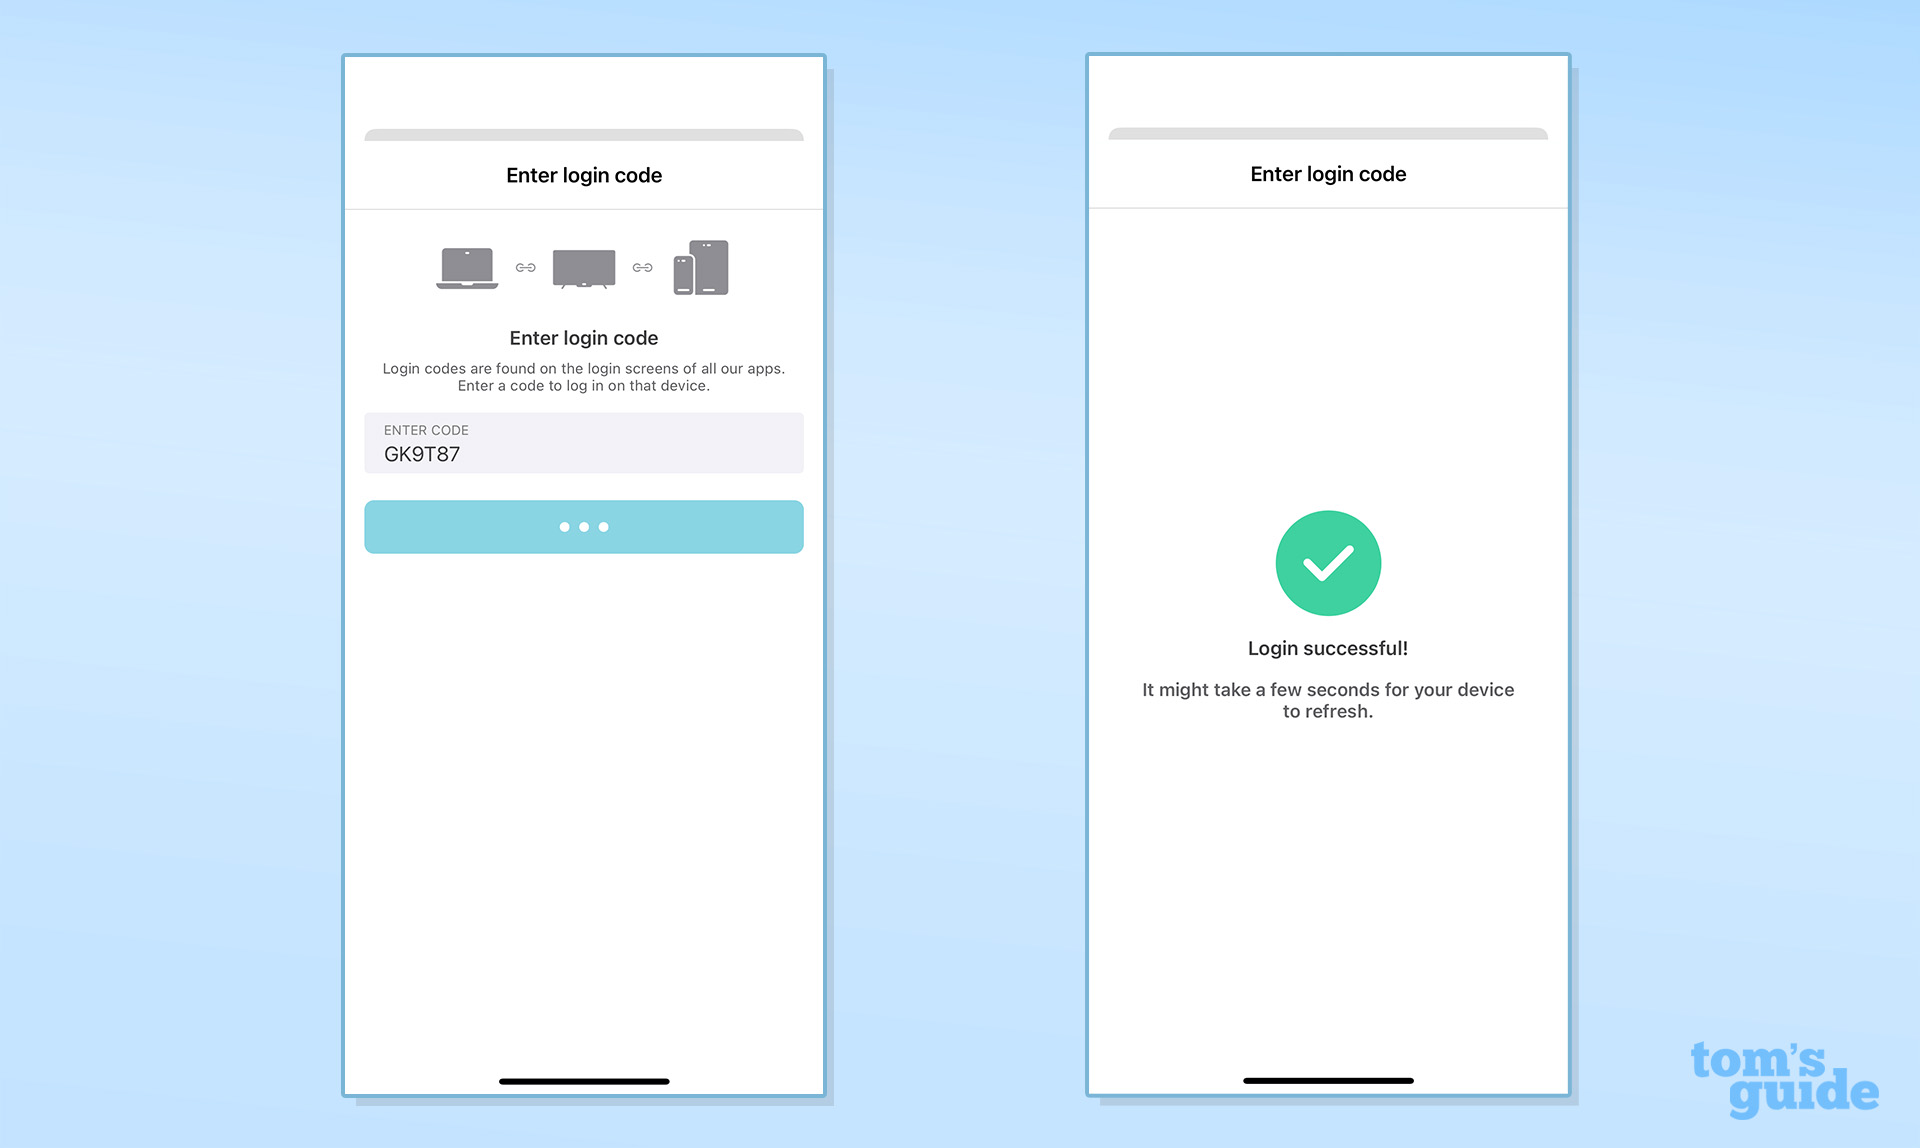
The first time you open Surfshark you’ll be asked to get in.
Click ‘“sign on”, and you’ll be presented with a choice.
(Image credit: Future)
Otherwise, you’ll have to tangle with the Fire Stick’s keyboard to key in your credentials.
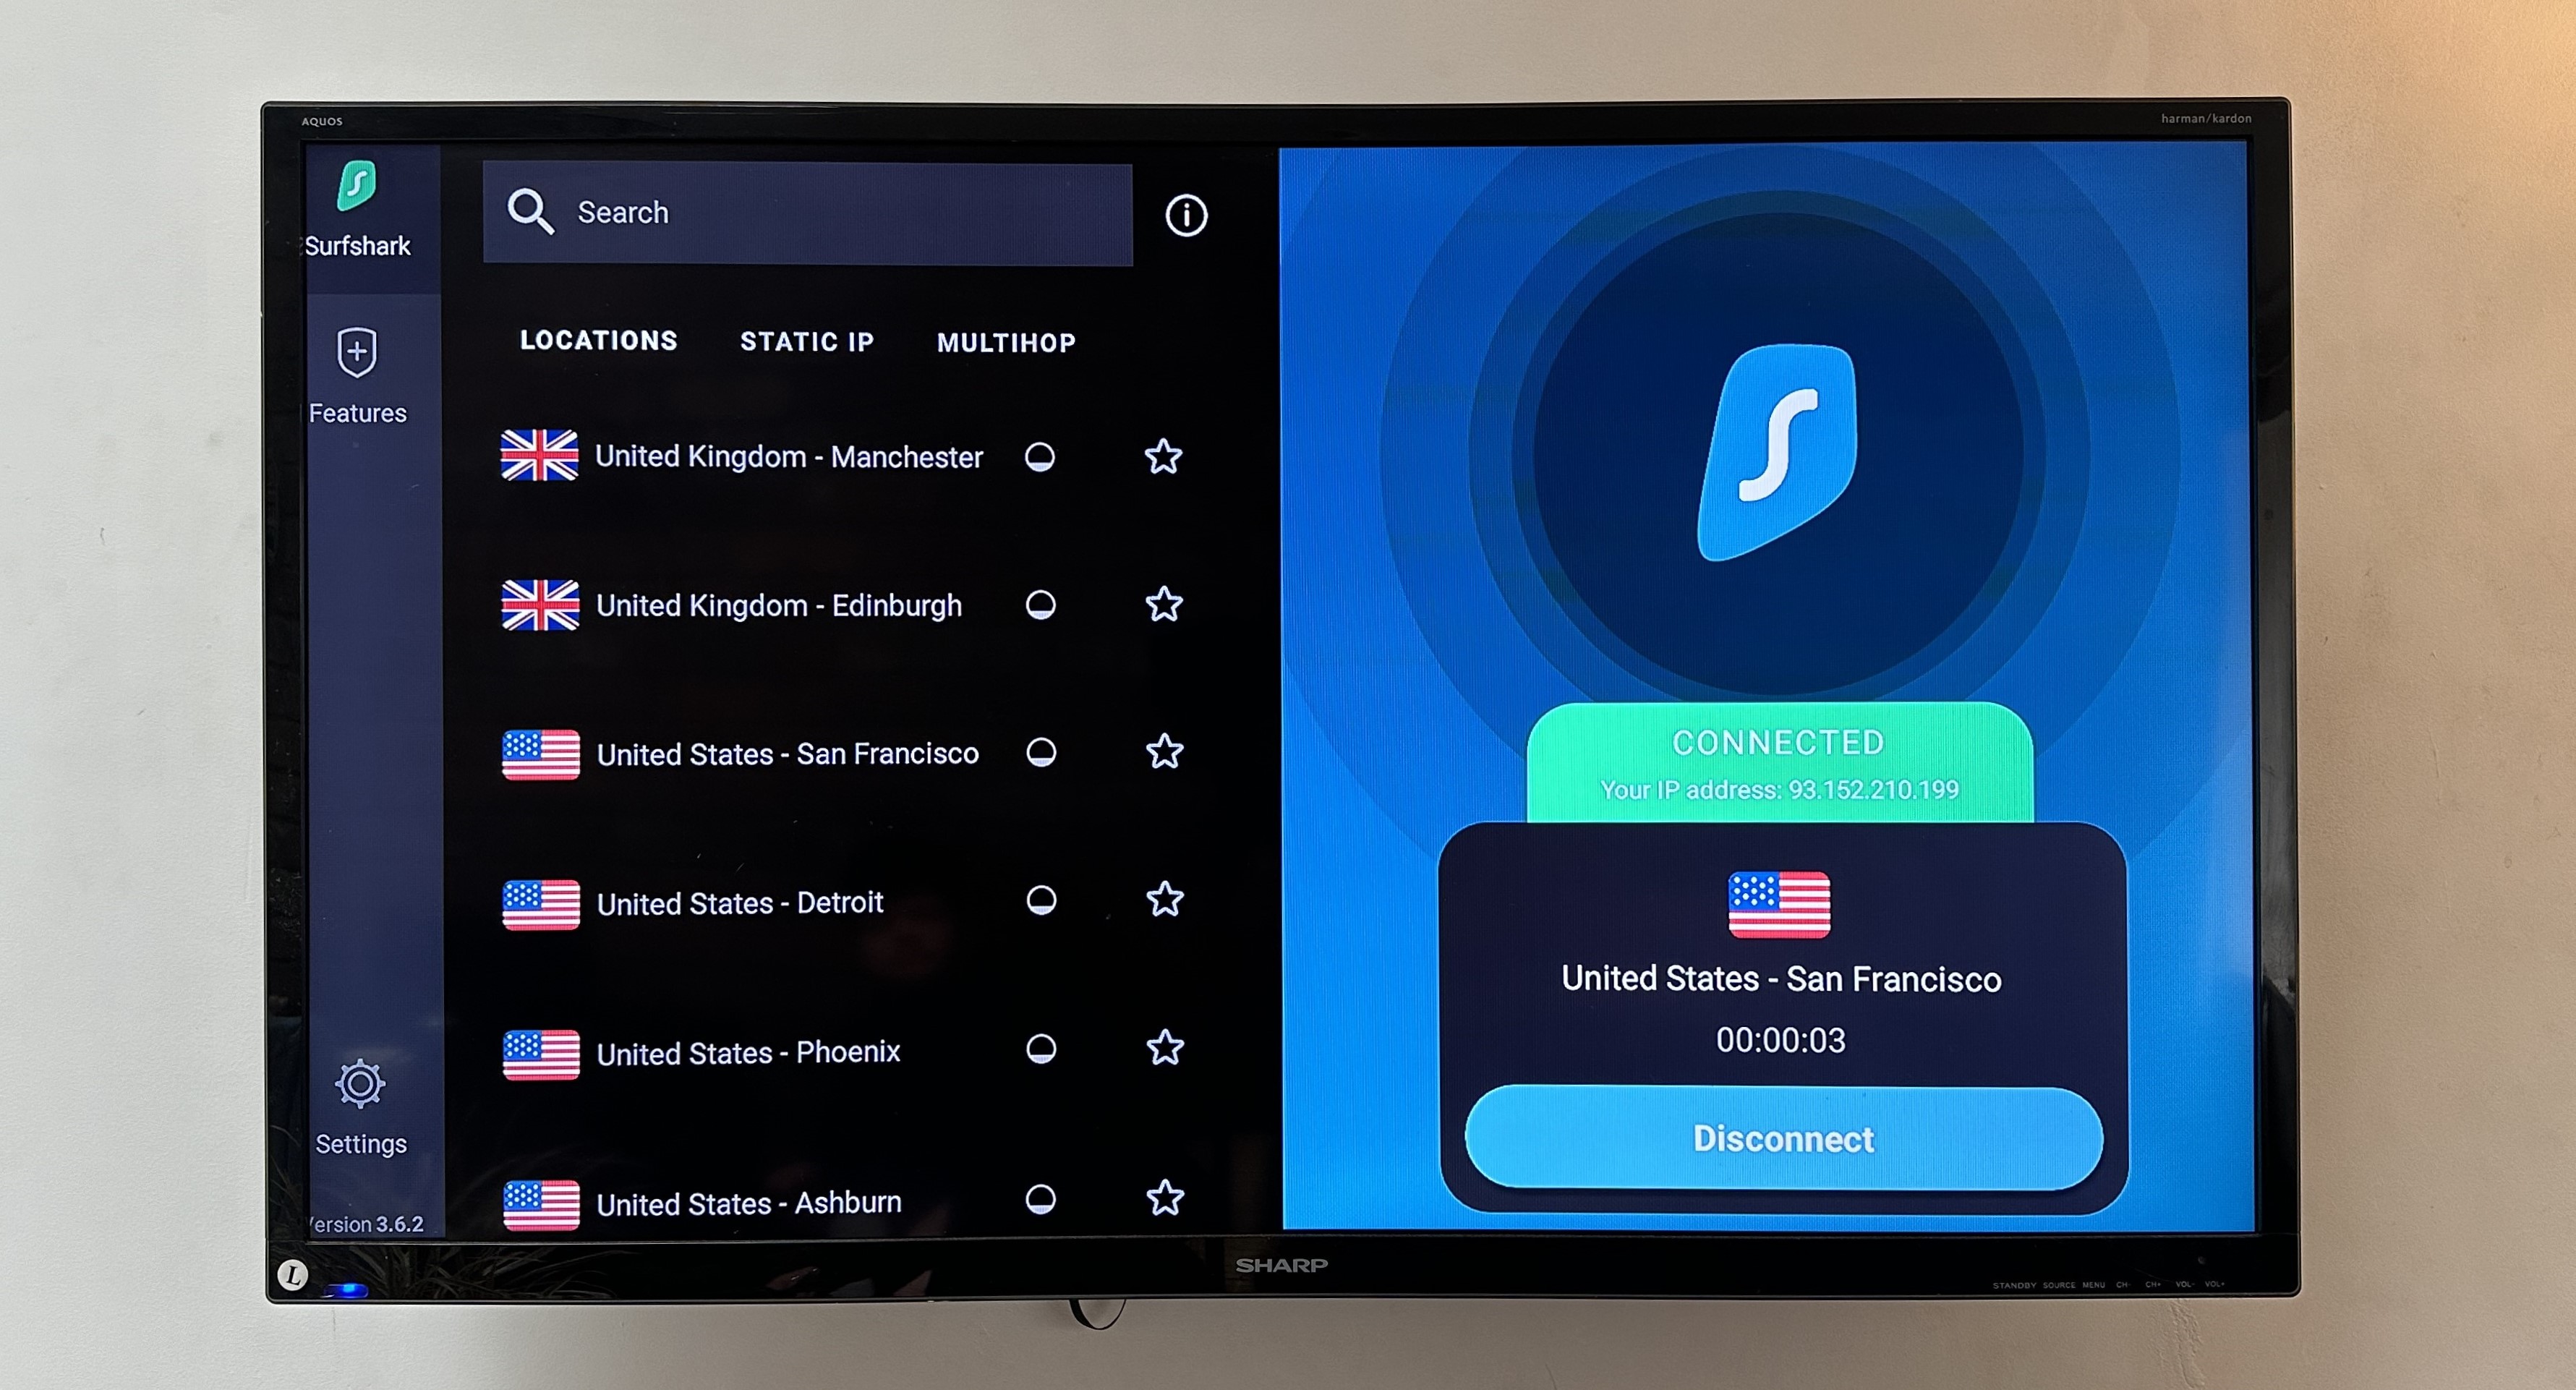
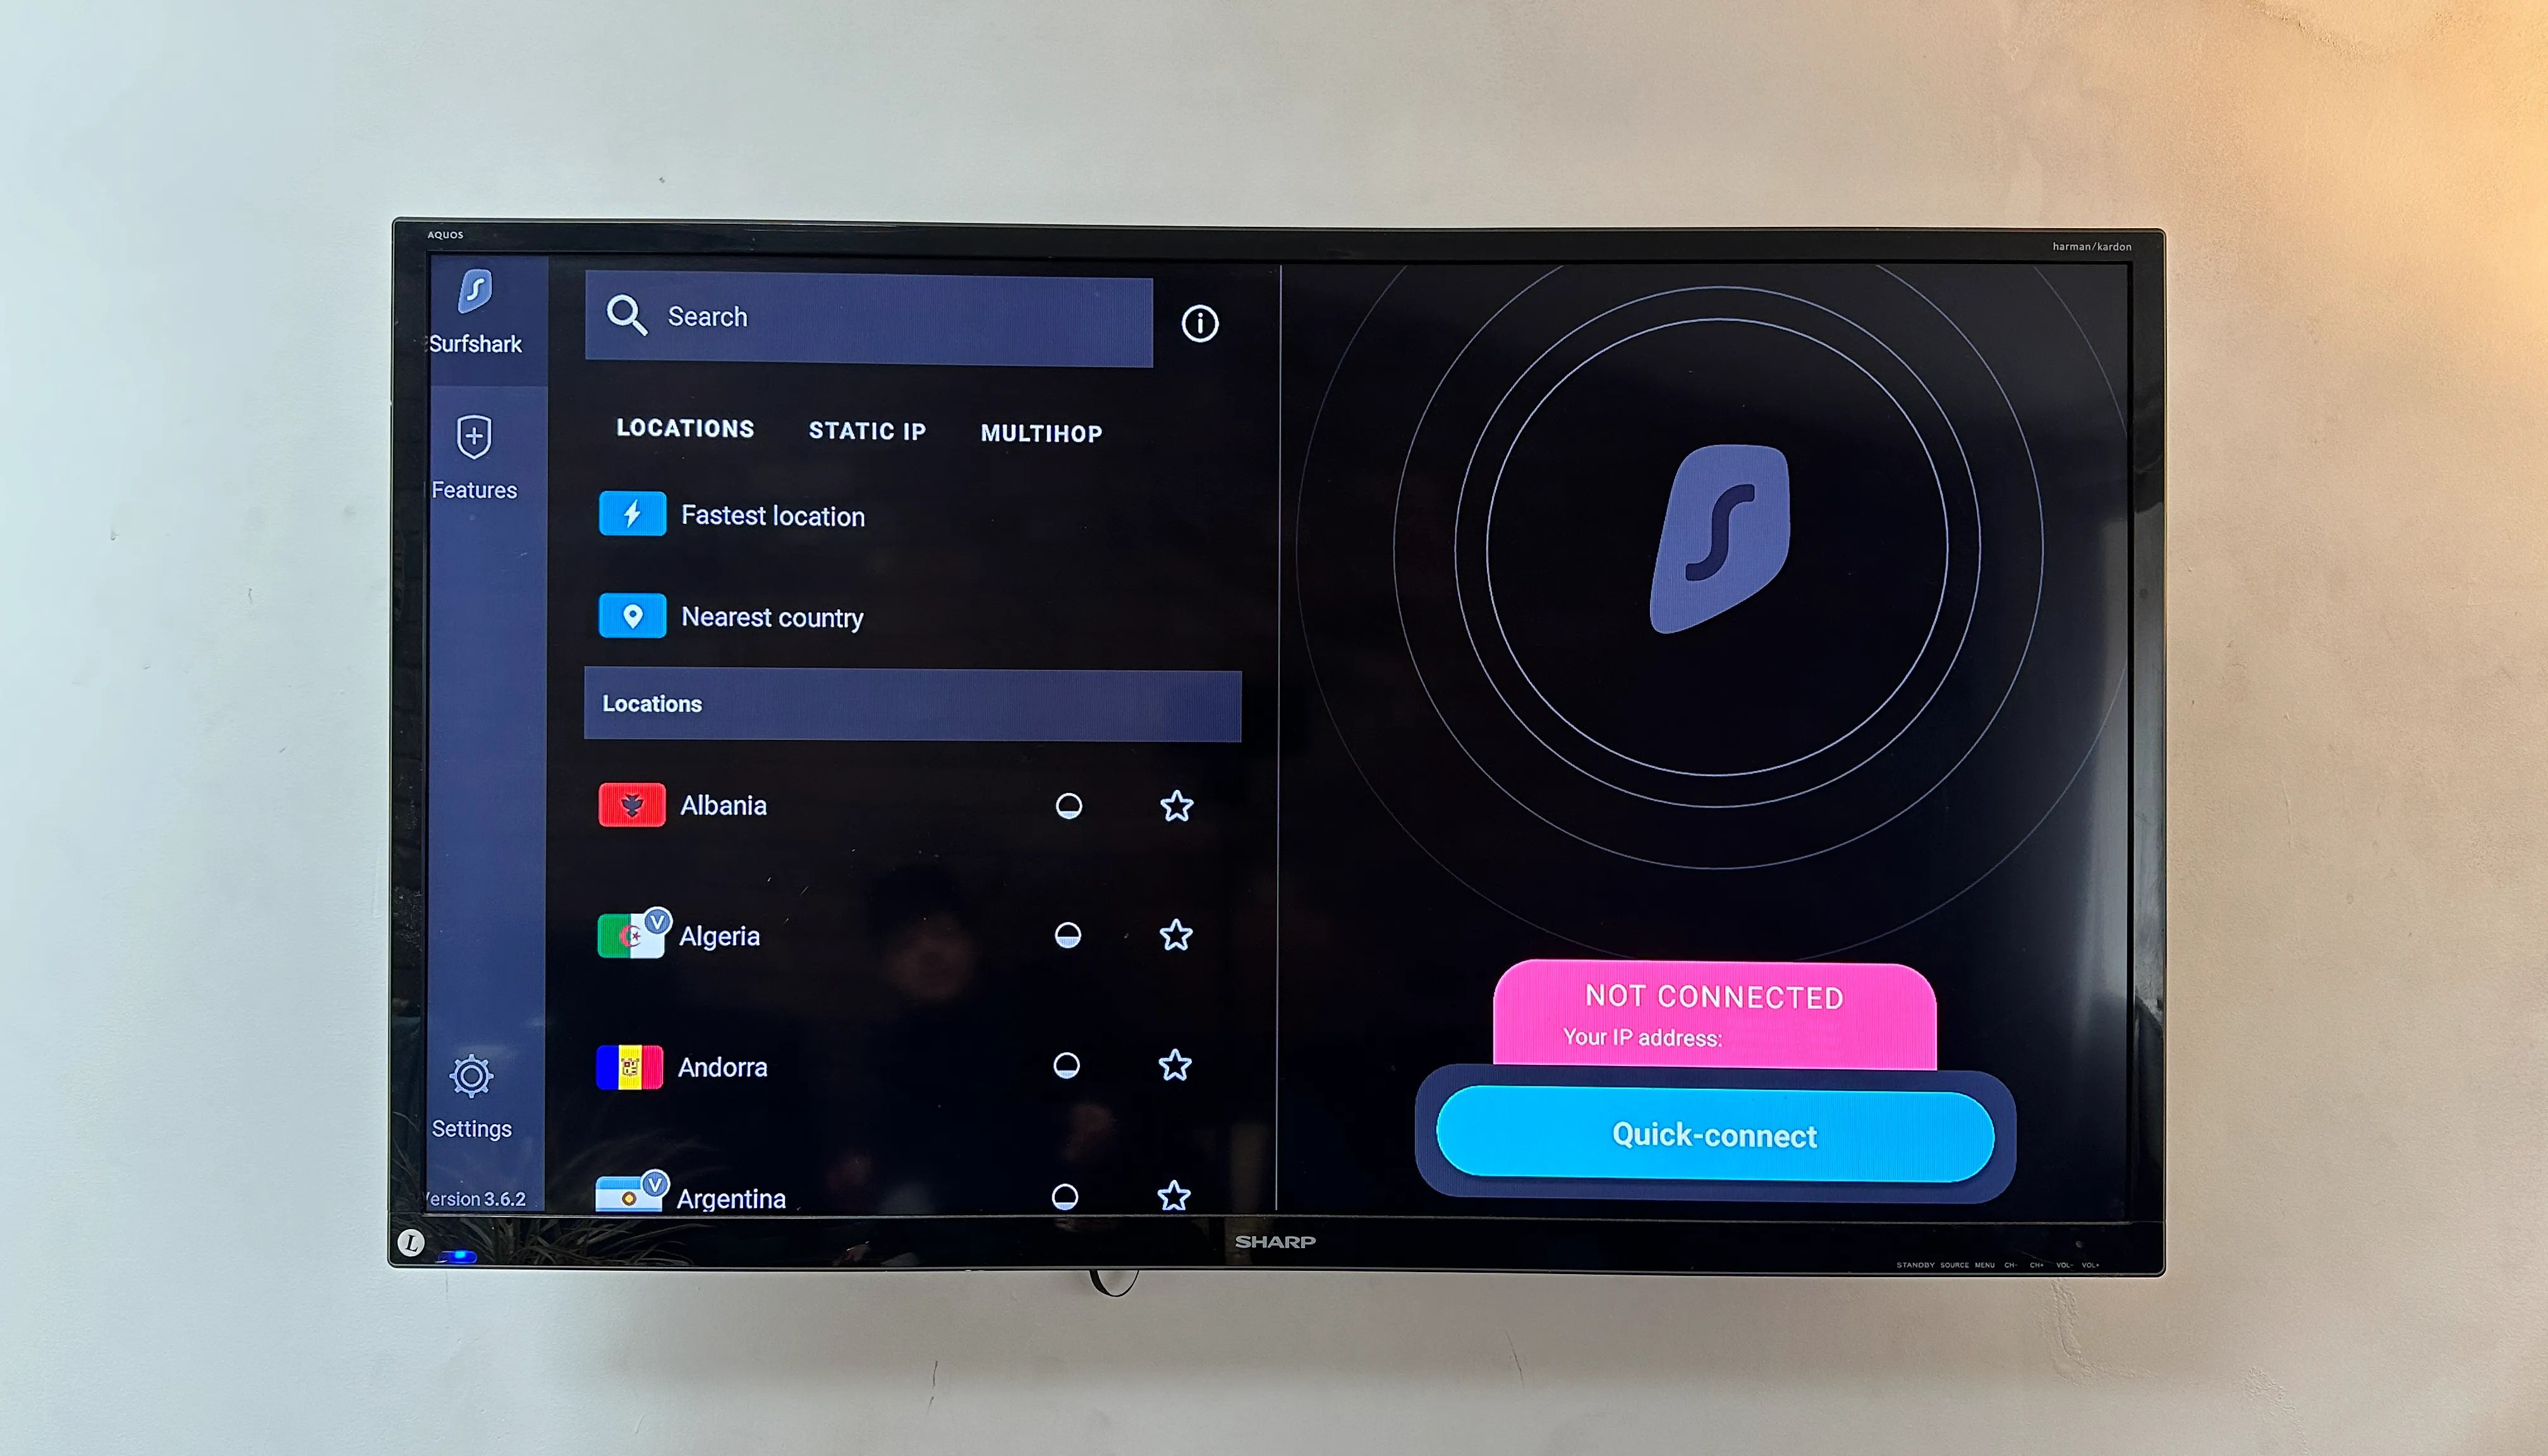
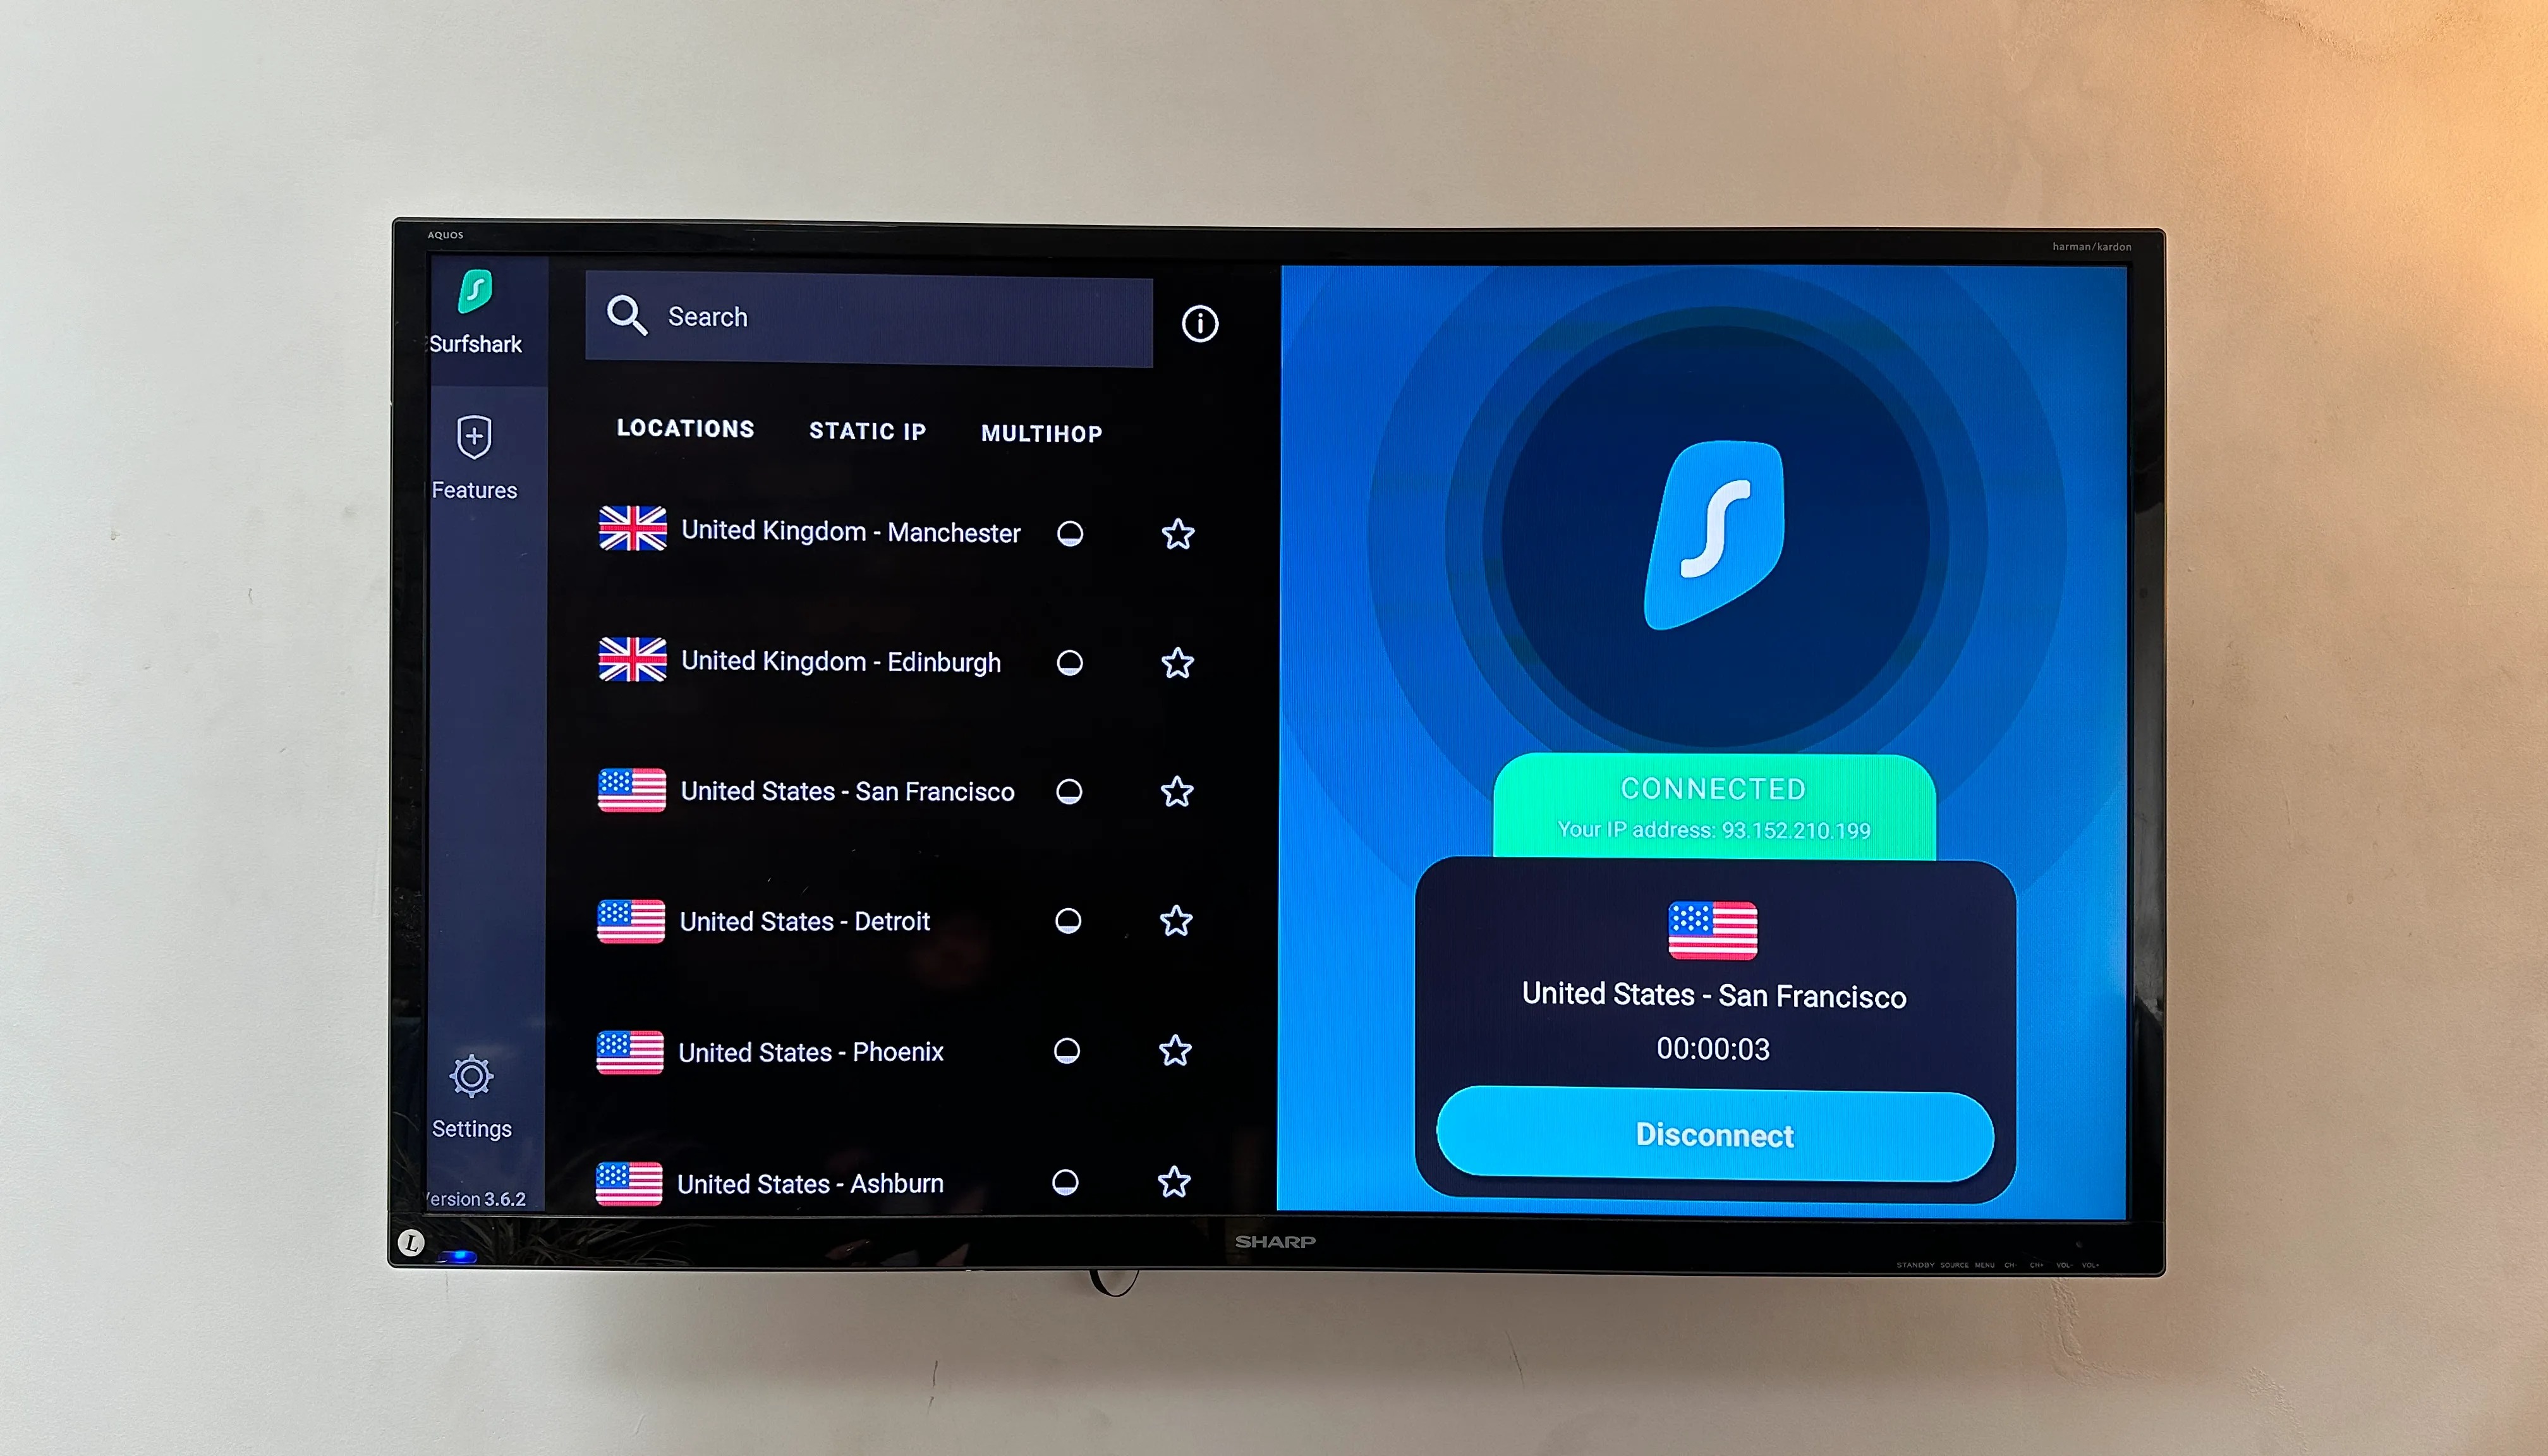
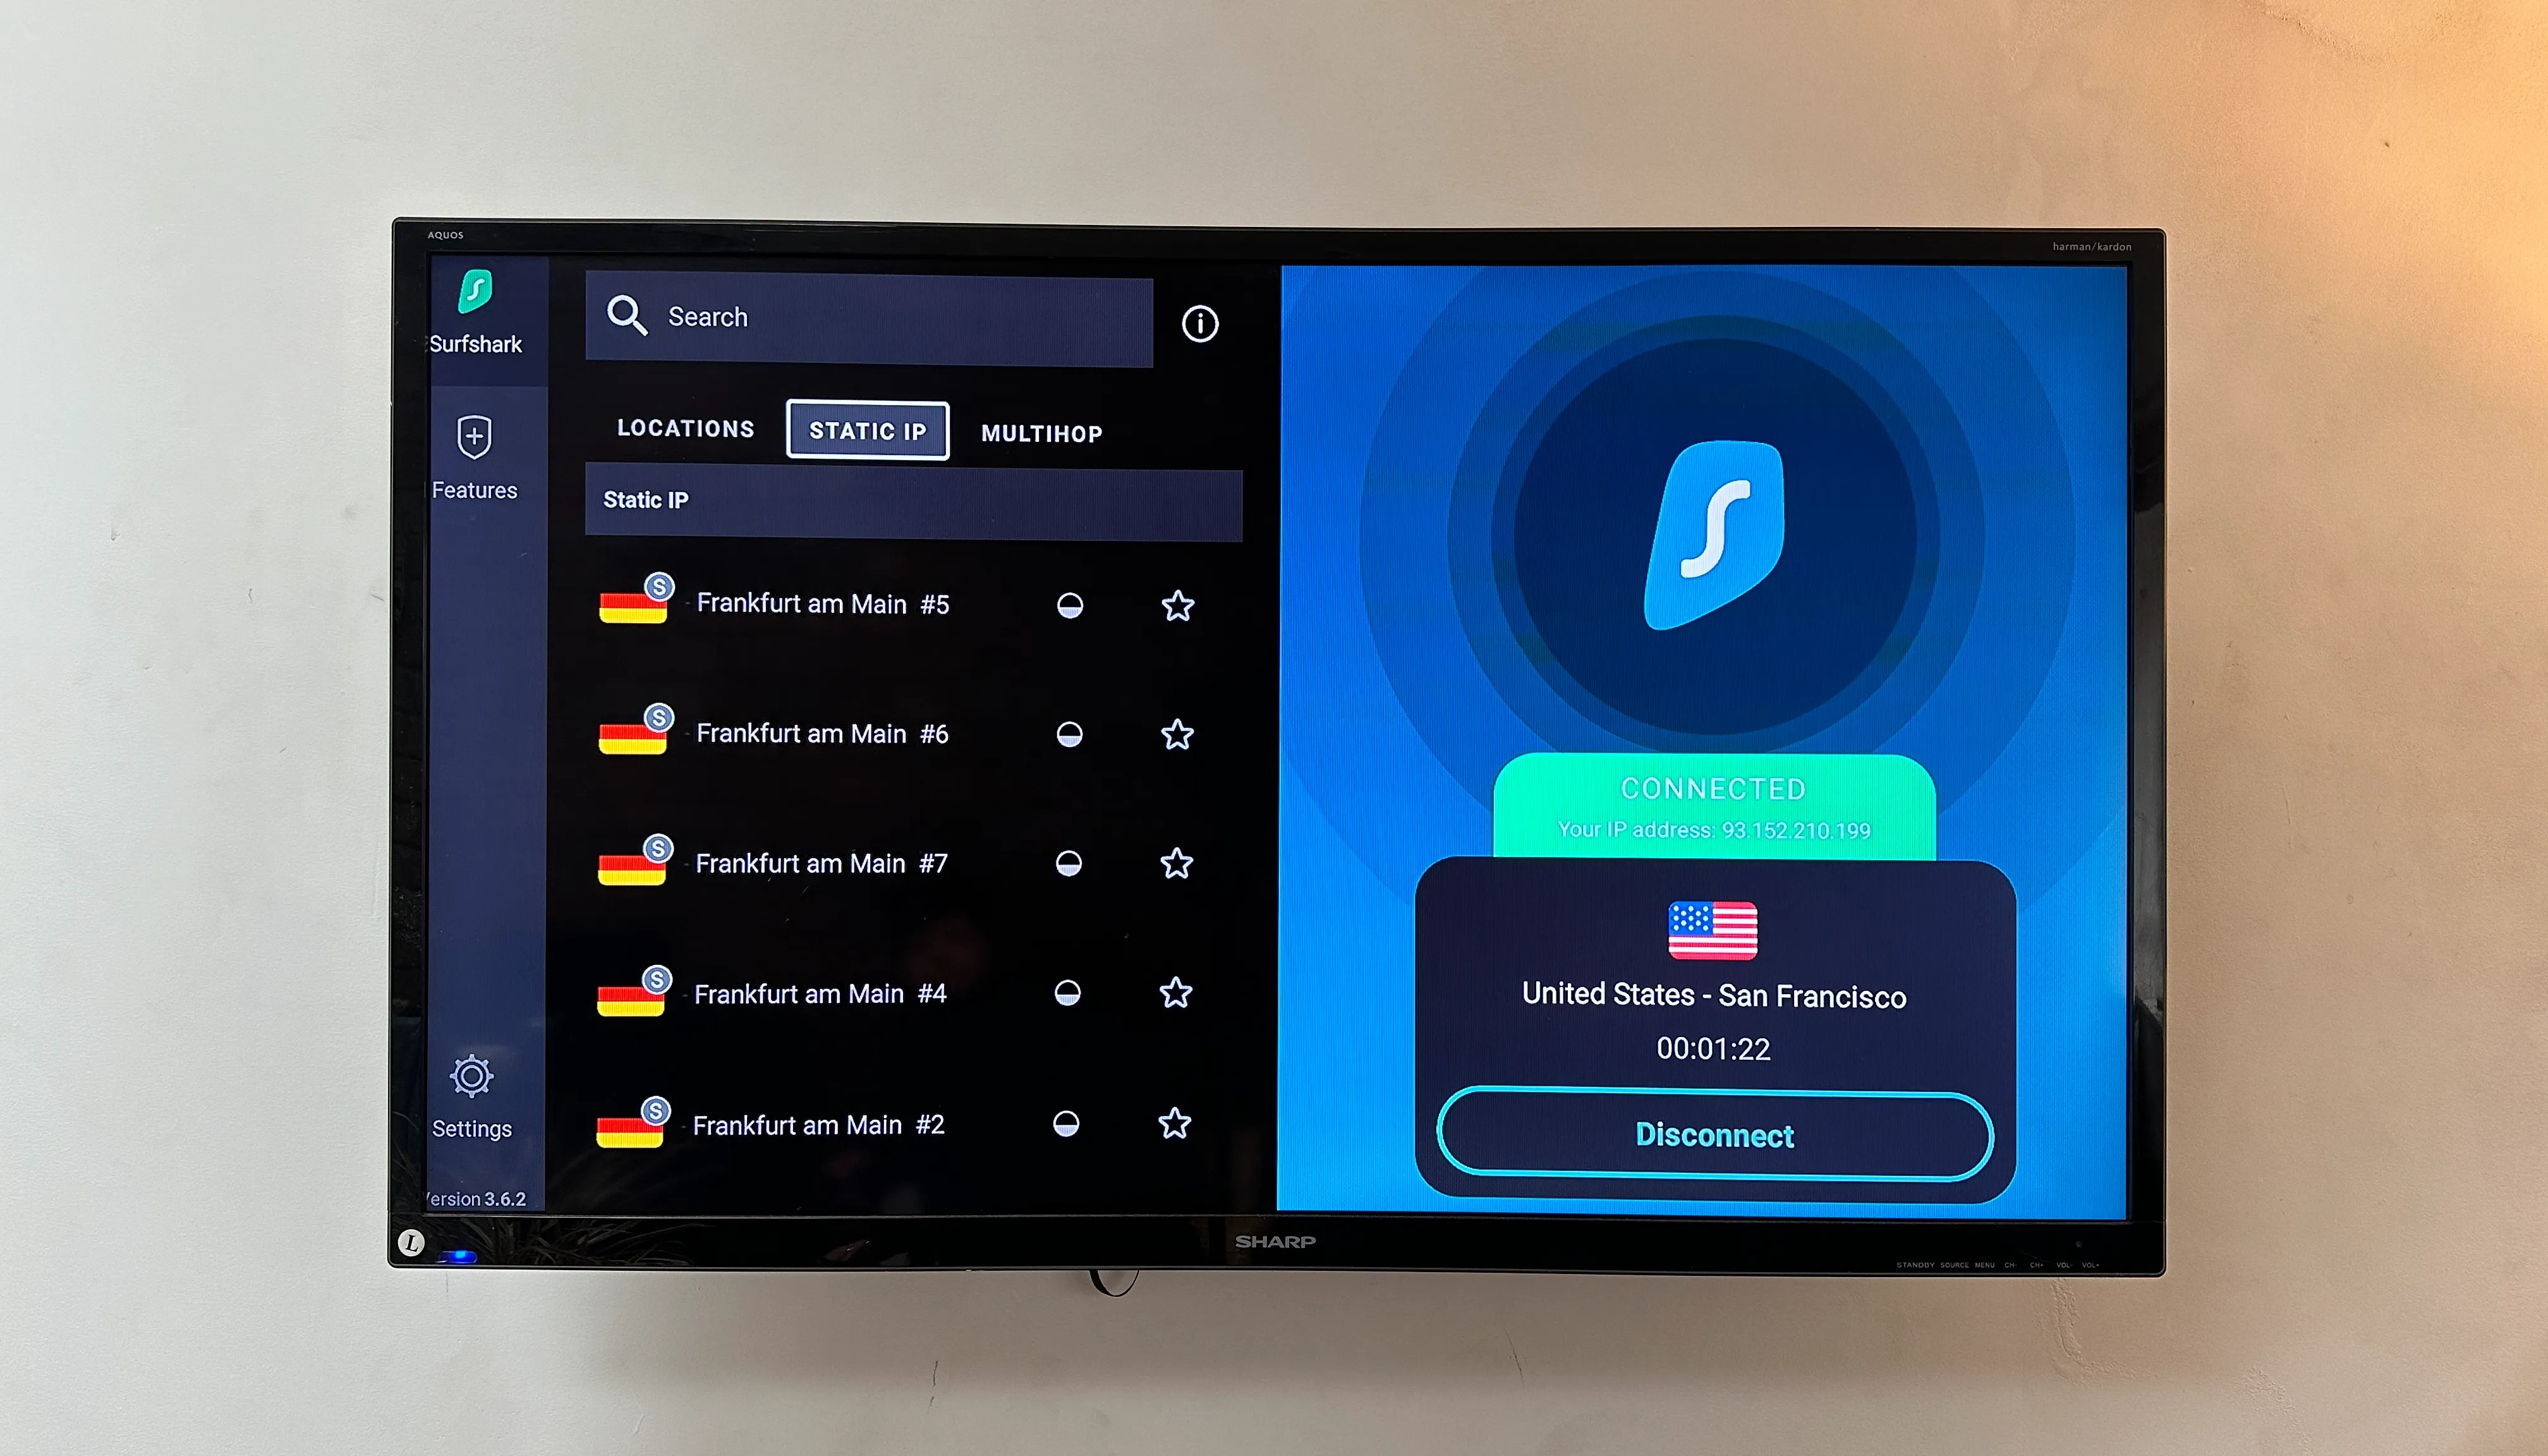
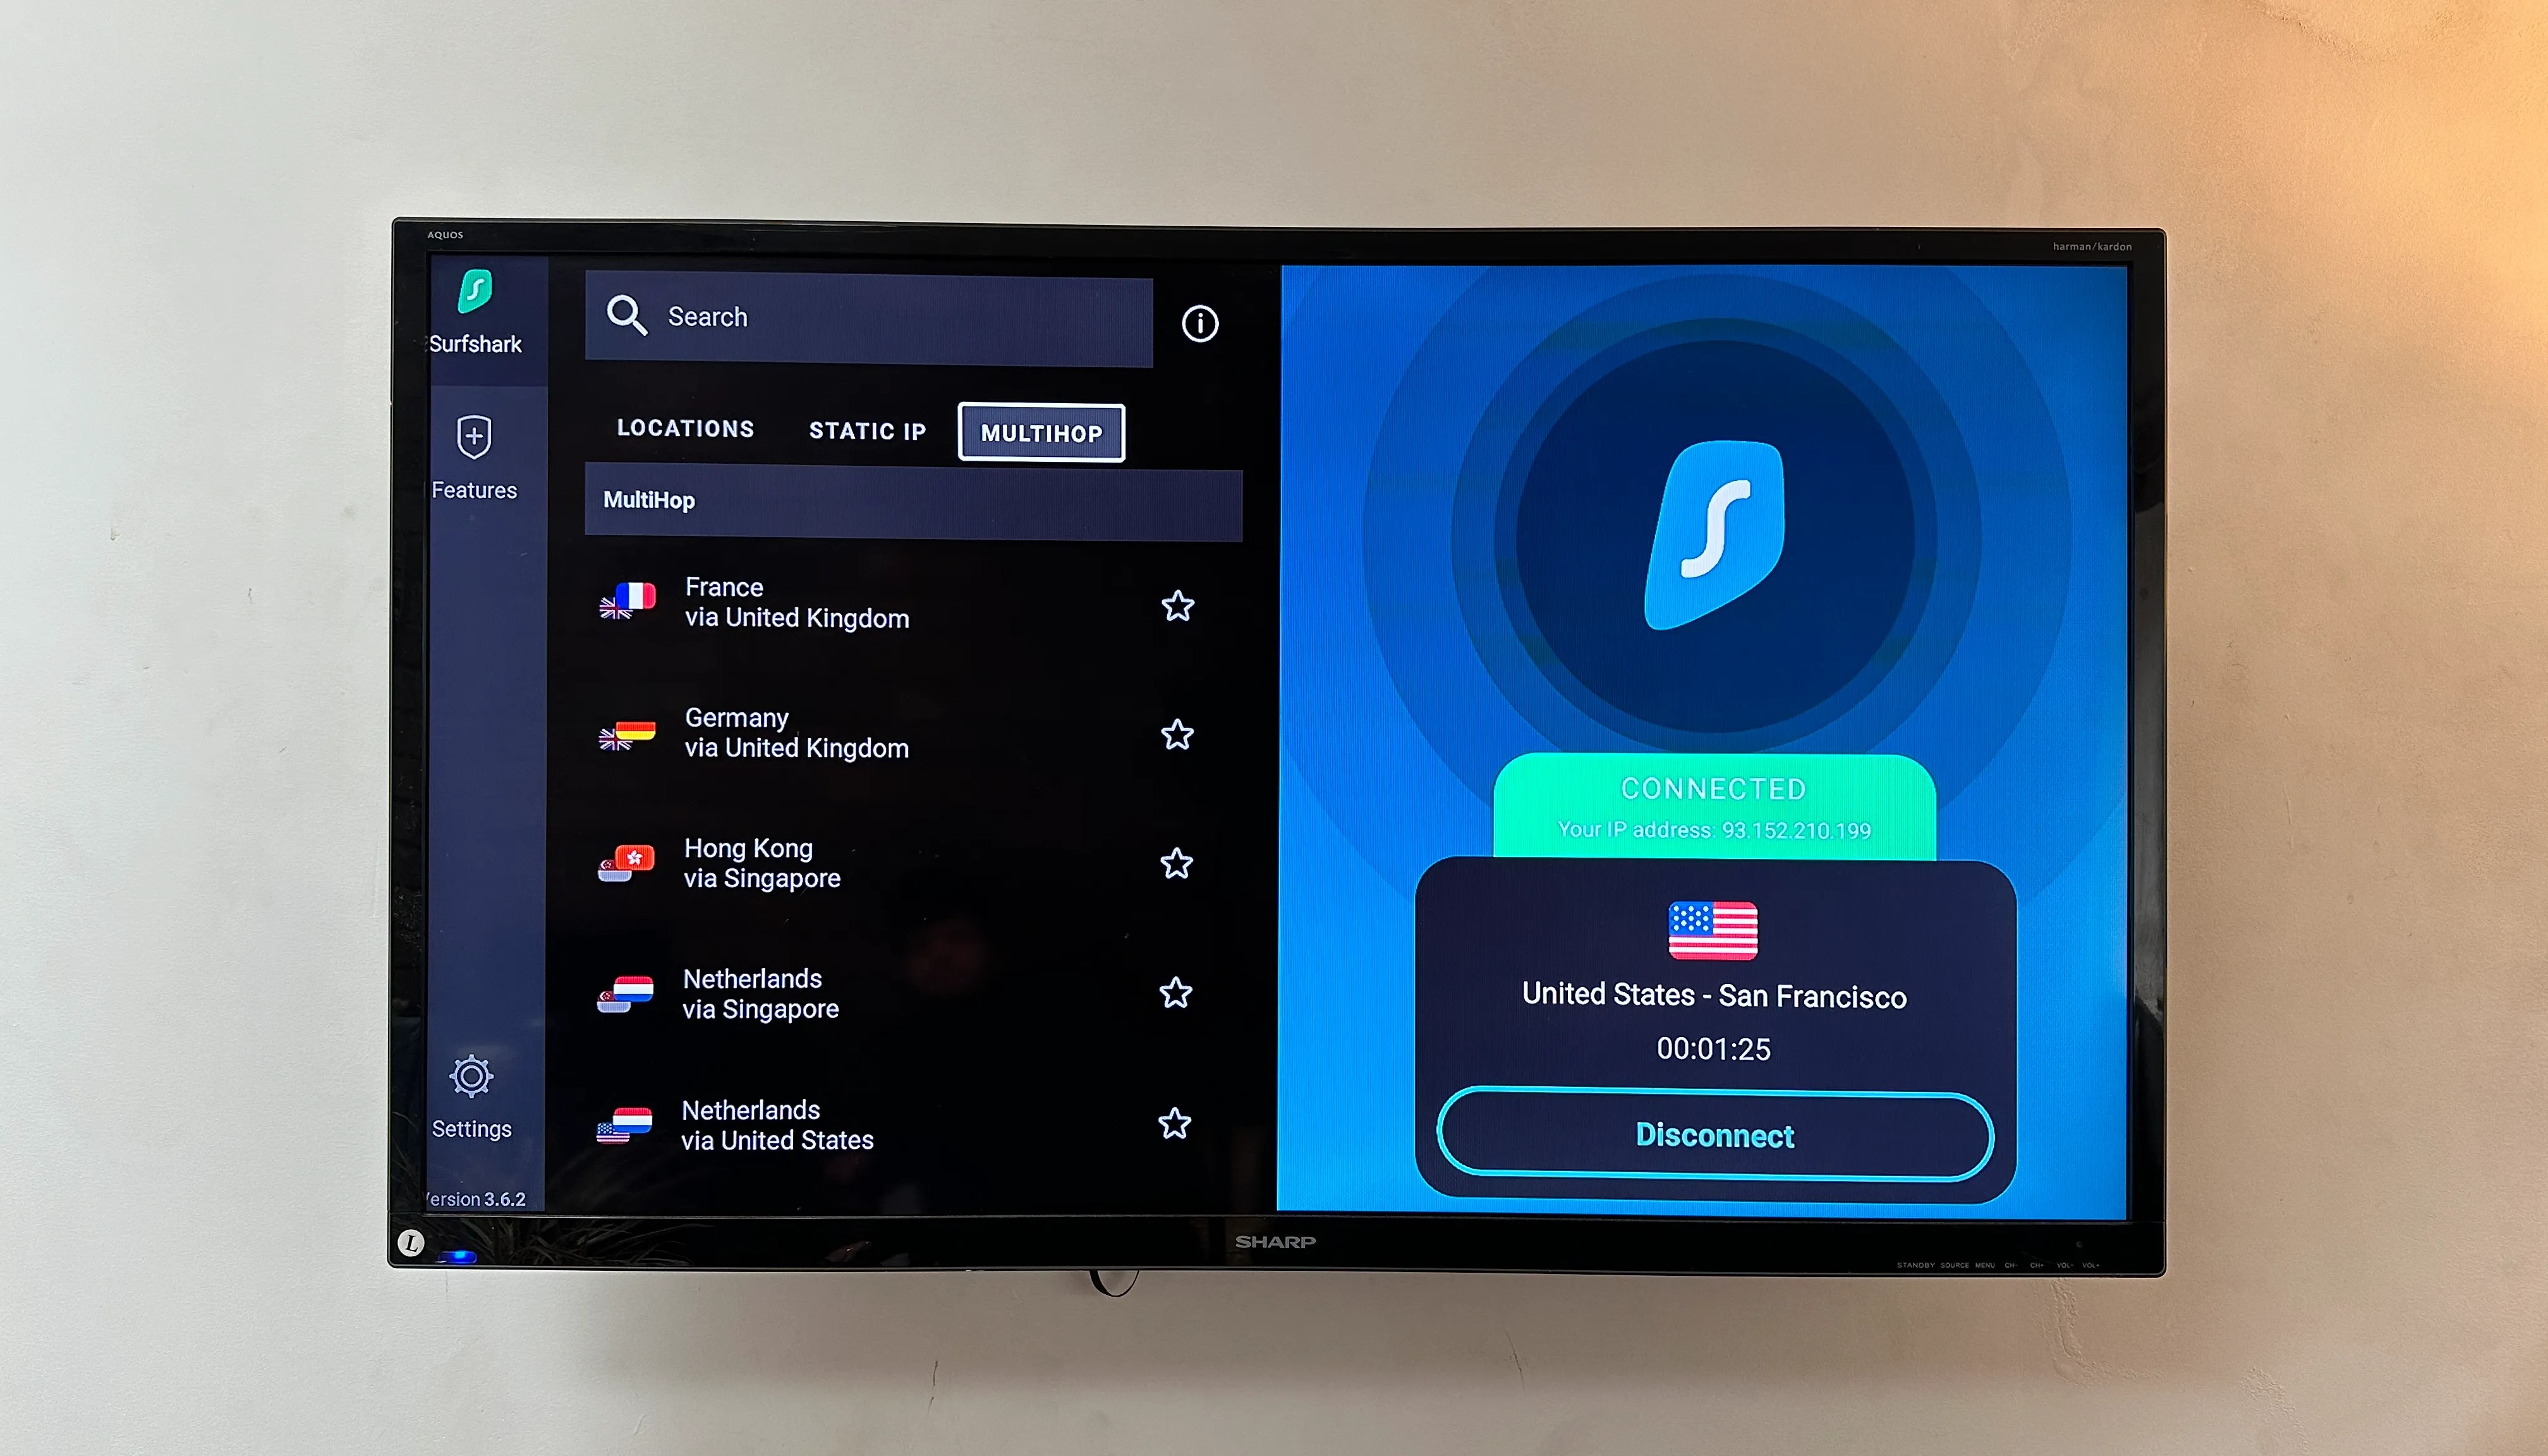
Connect to an Surfshark server
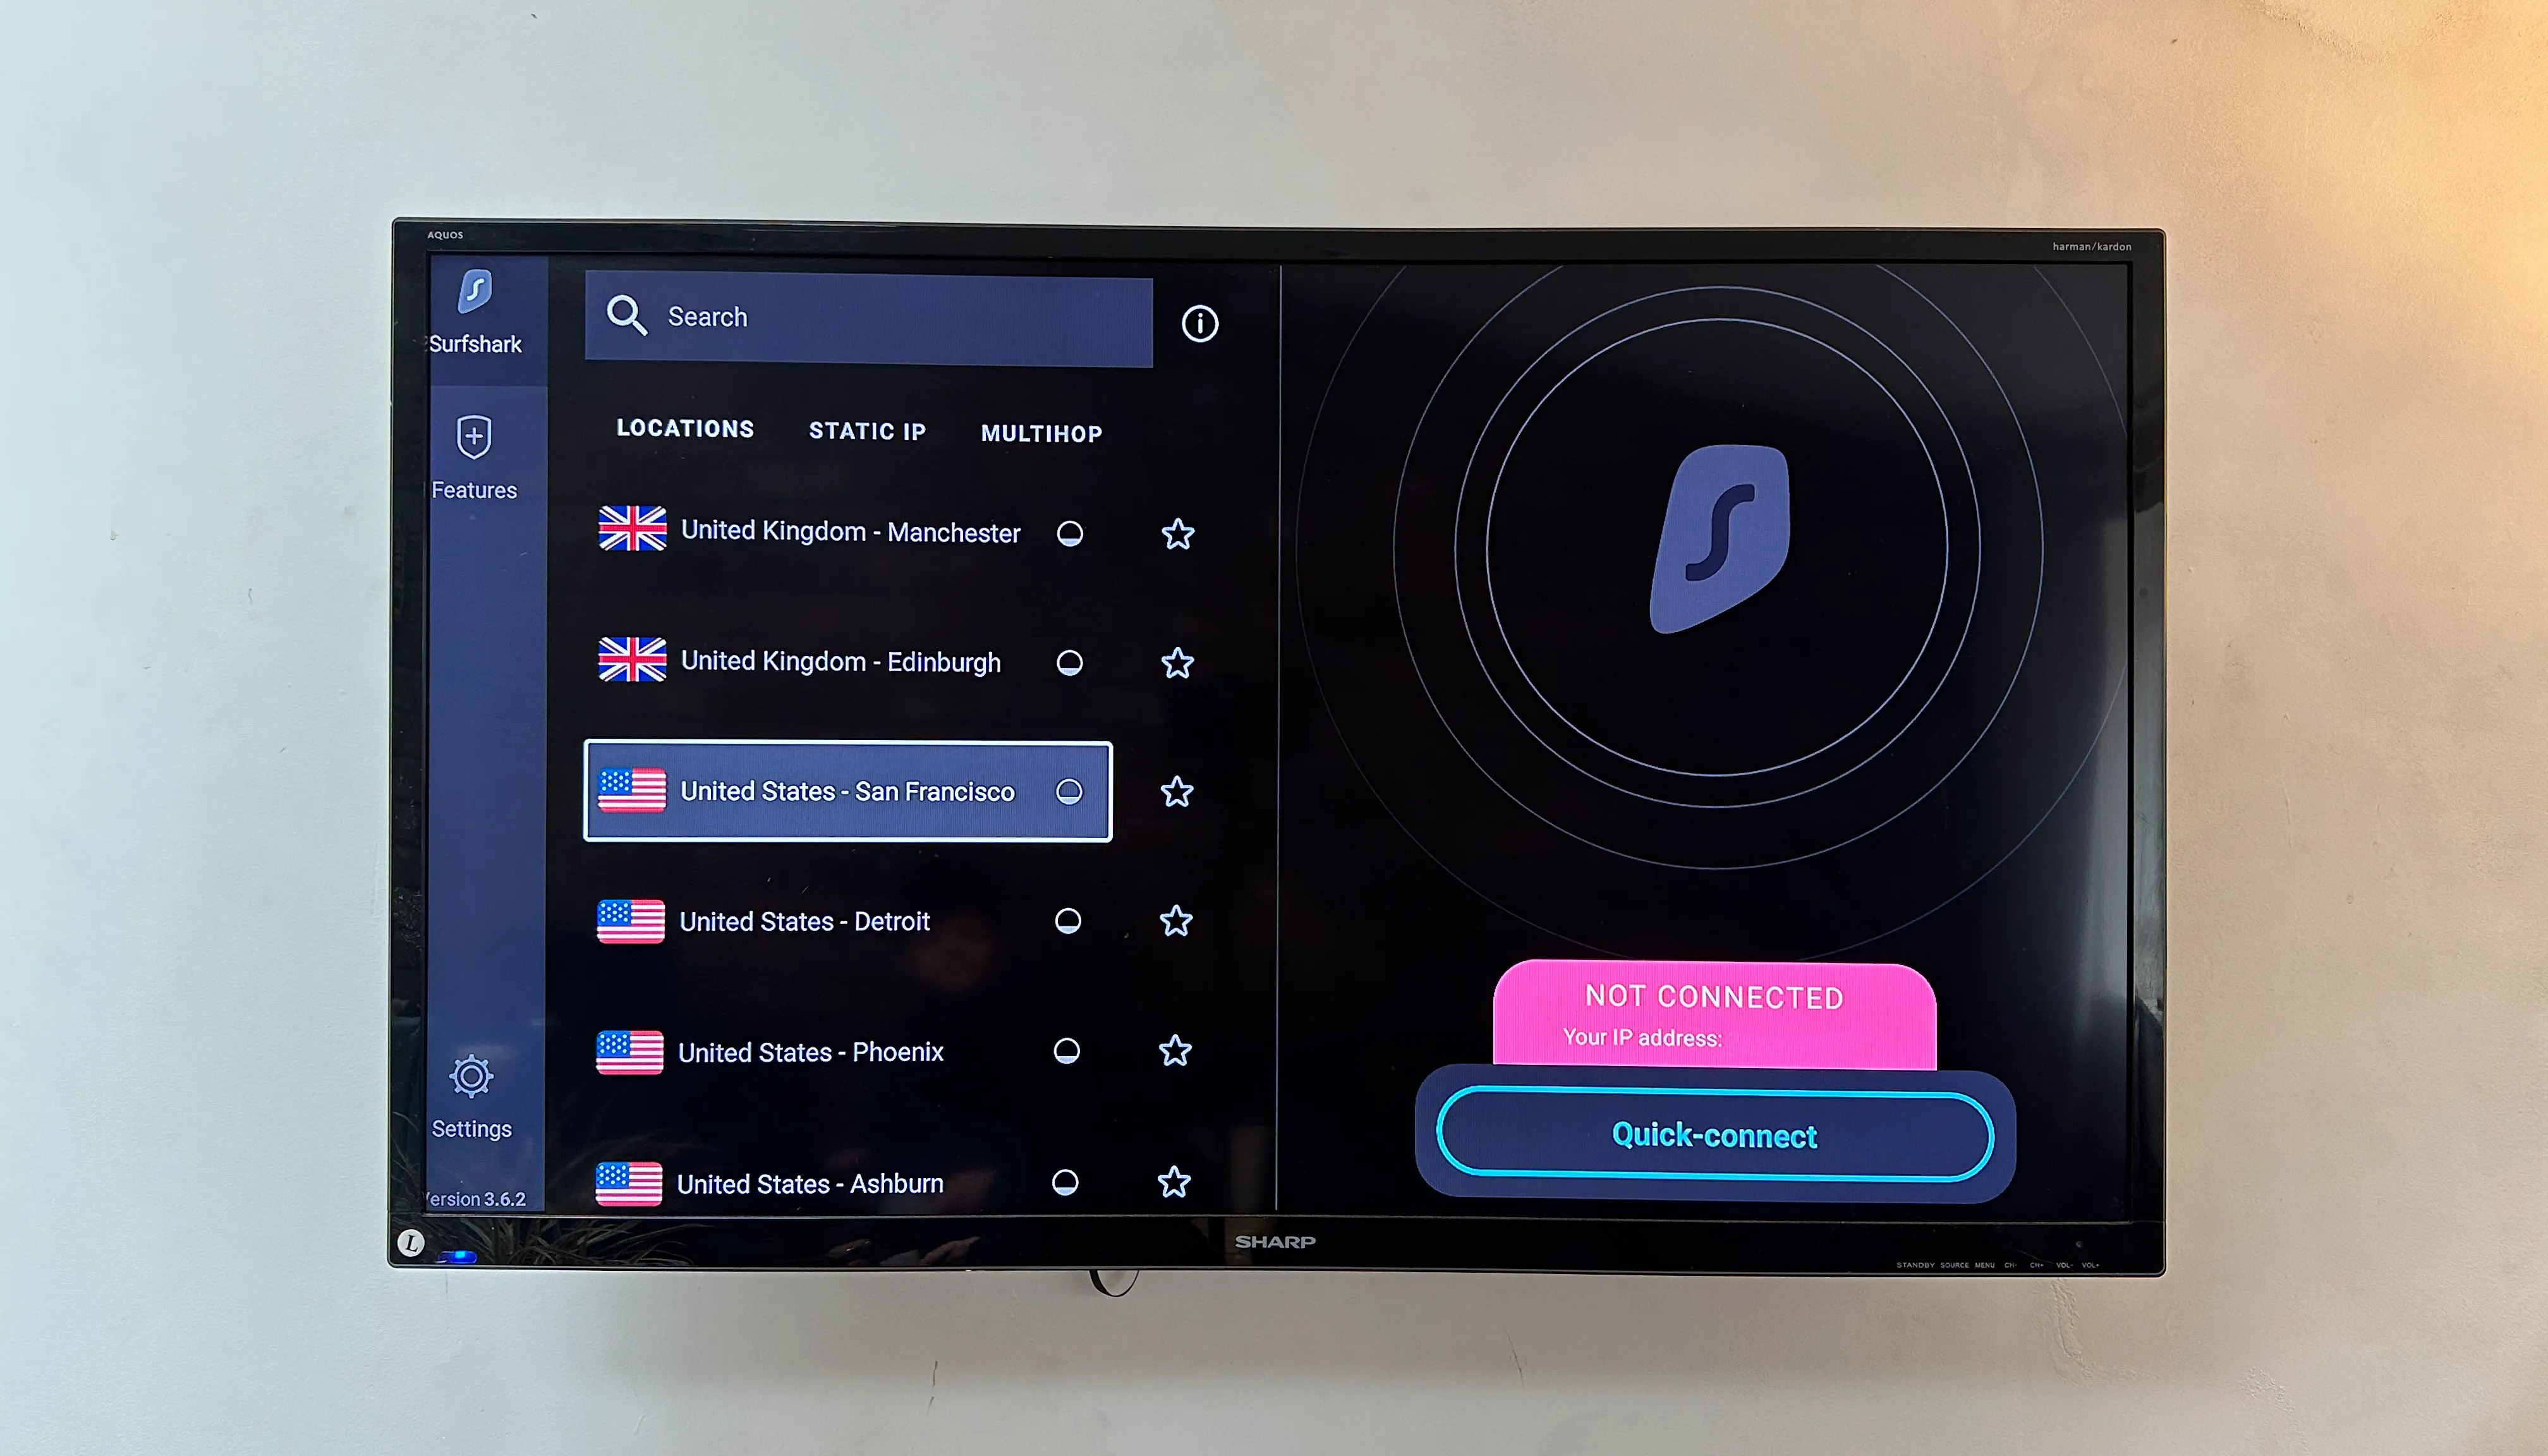
Select your server
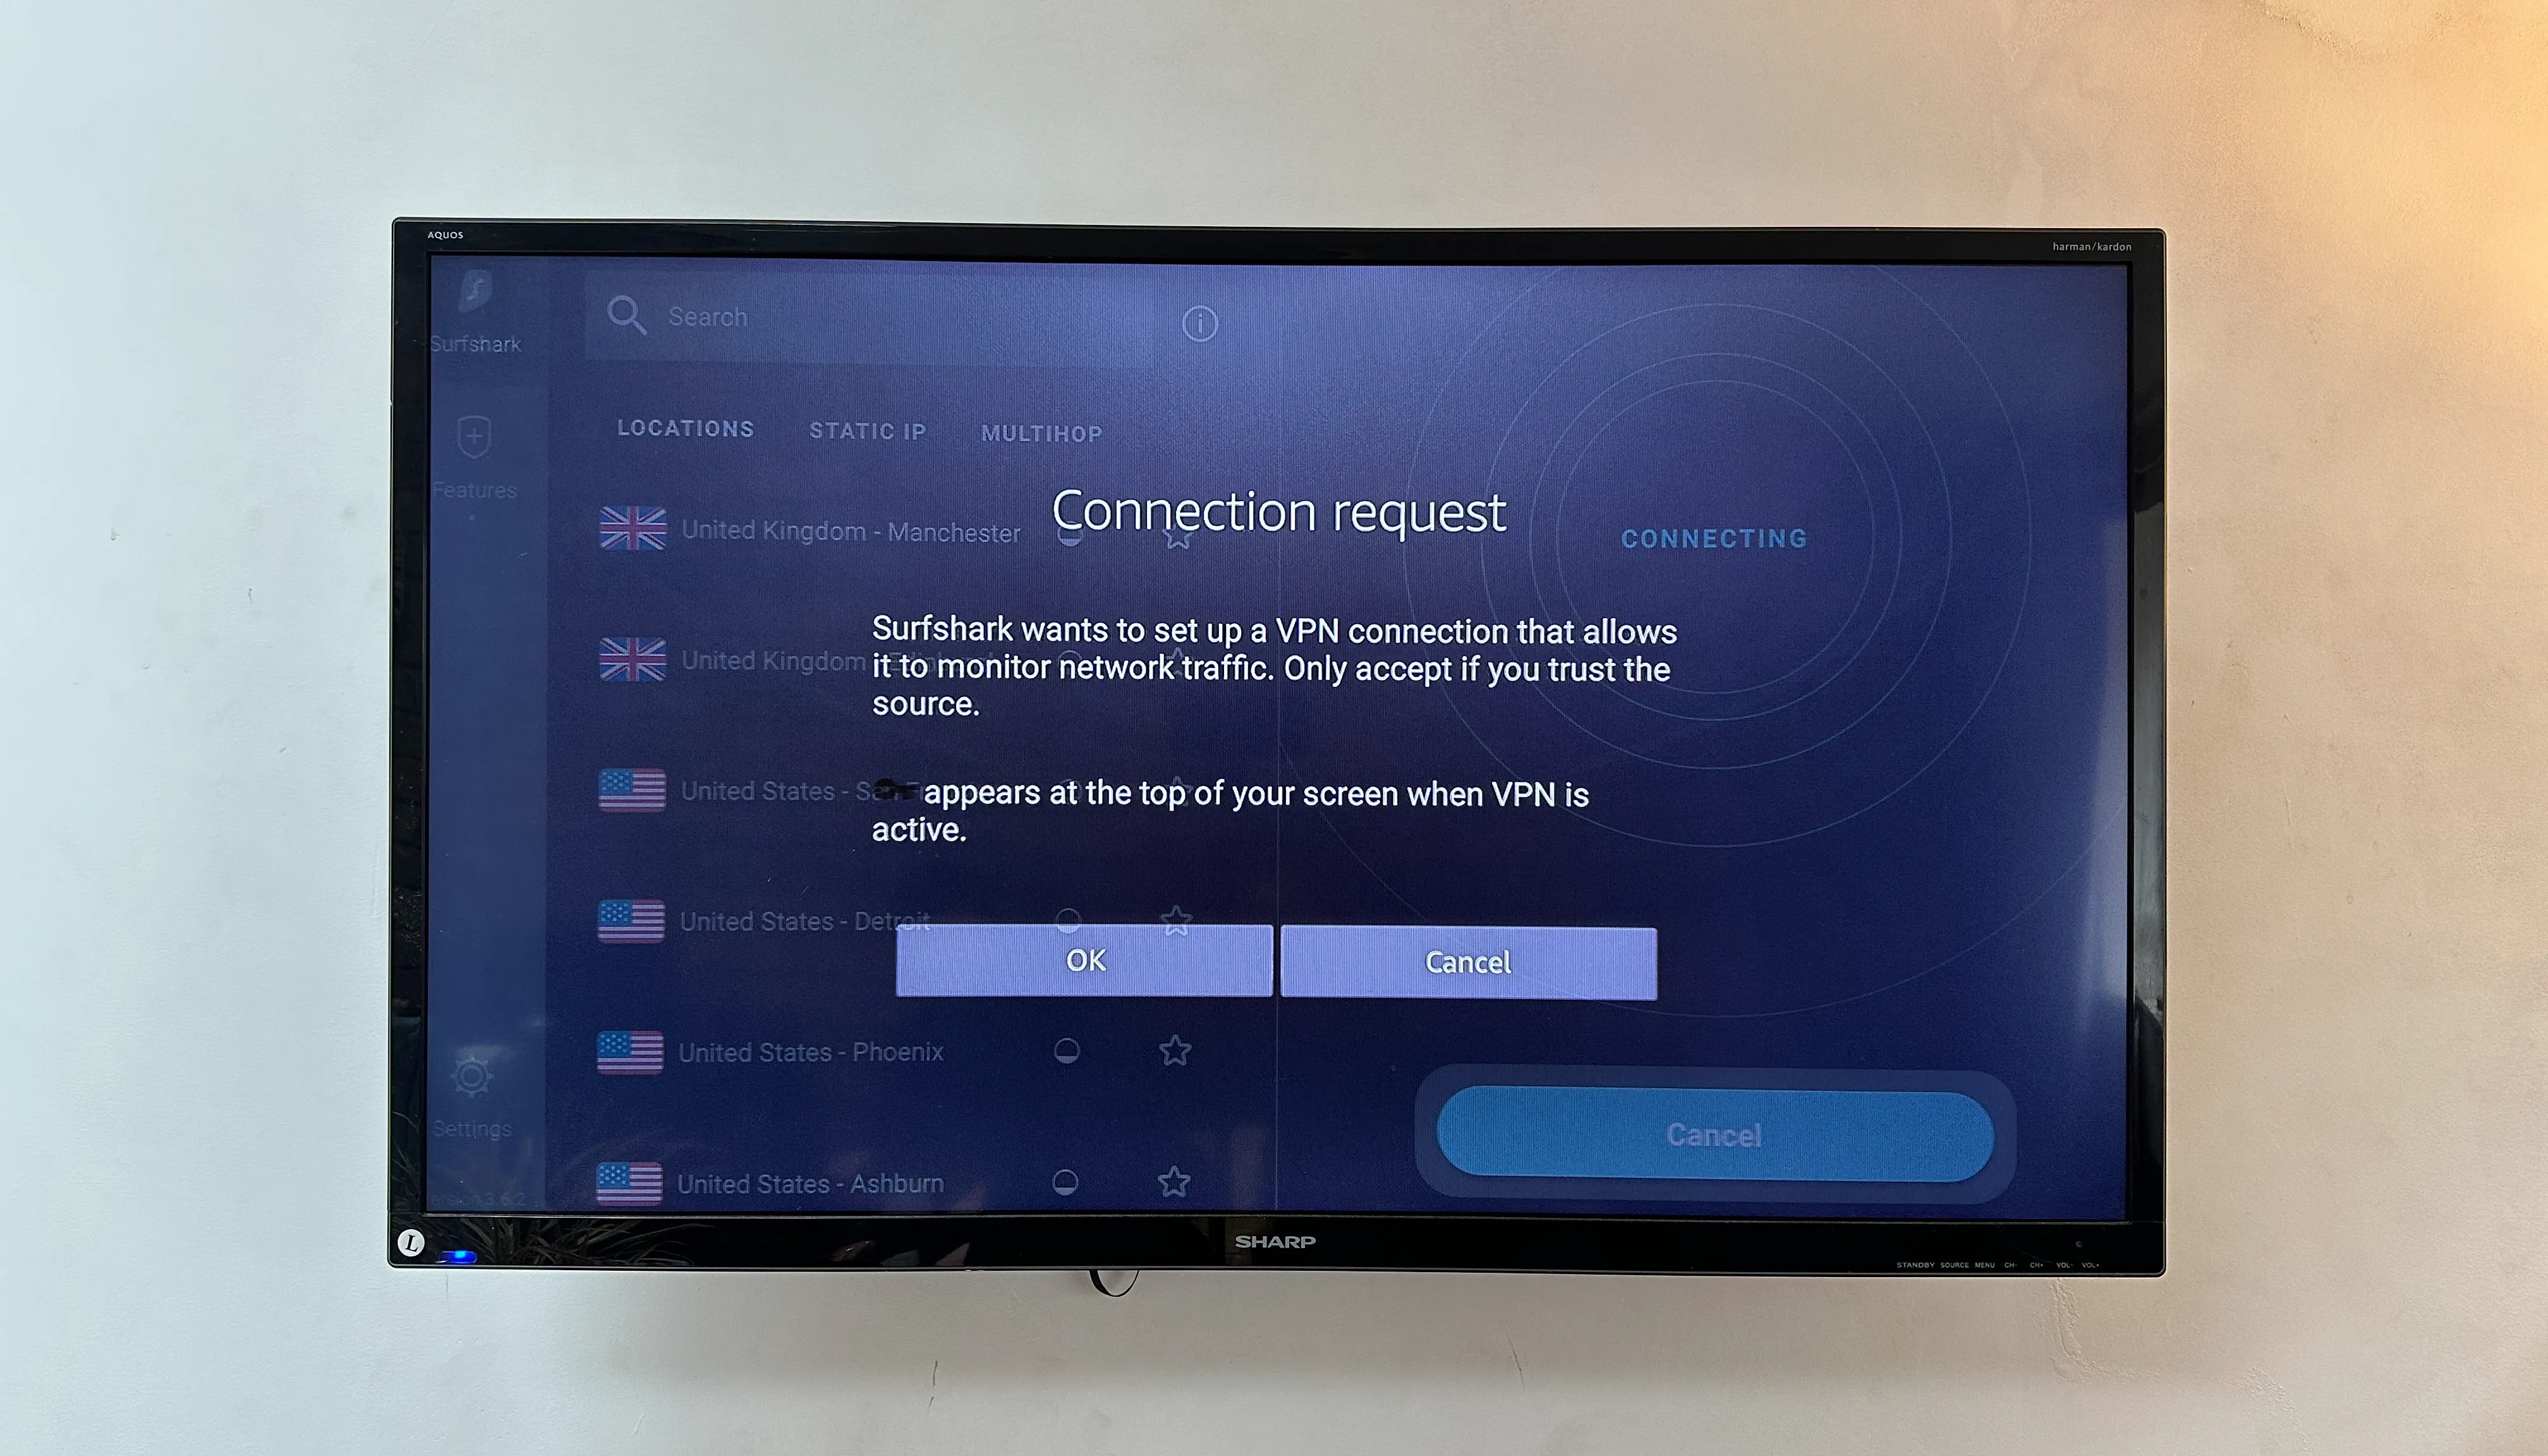
Allow Surfshark to make VPN connections
You’re connected!
Your Fire Stick will pop up saying that Surfshark wants to set up a VPN connection.

(Image credit: Future)
Choose “OK”.
This is the only time you’ll see this pop up unless you reinstall the app.
The app will then pulse while connecting and, in a couple of seconds, you’ll be connected.
(Image credit: Future)
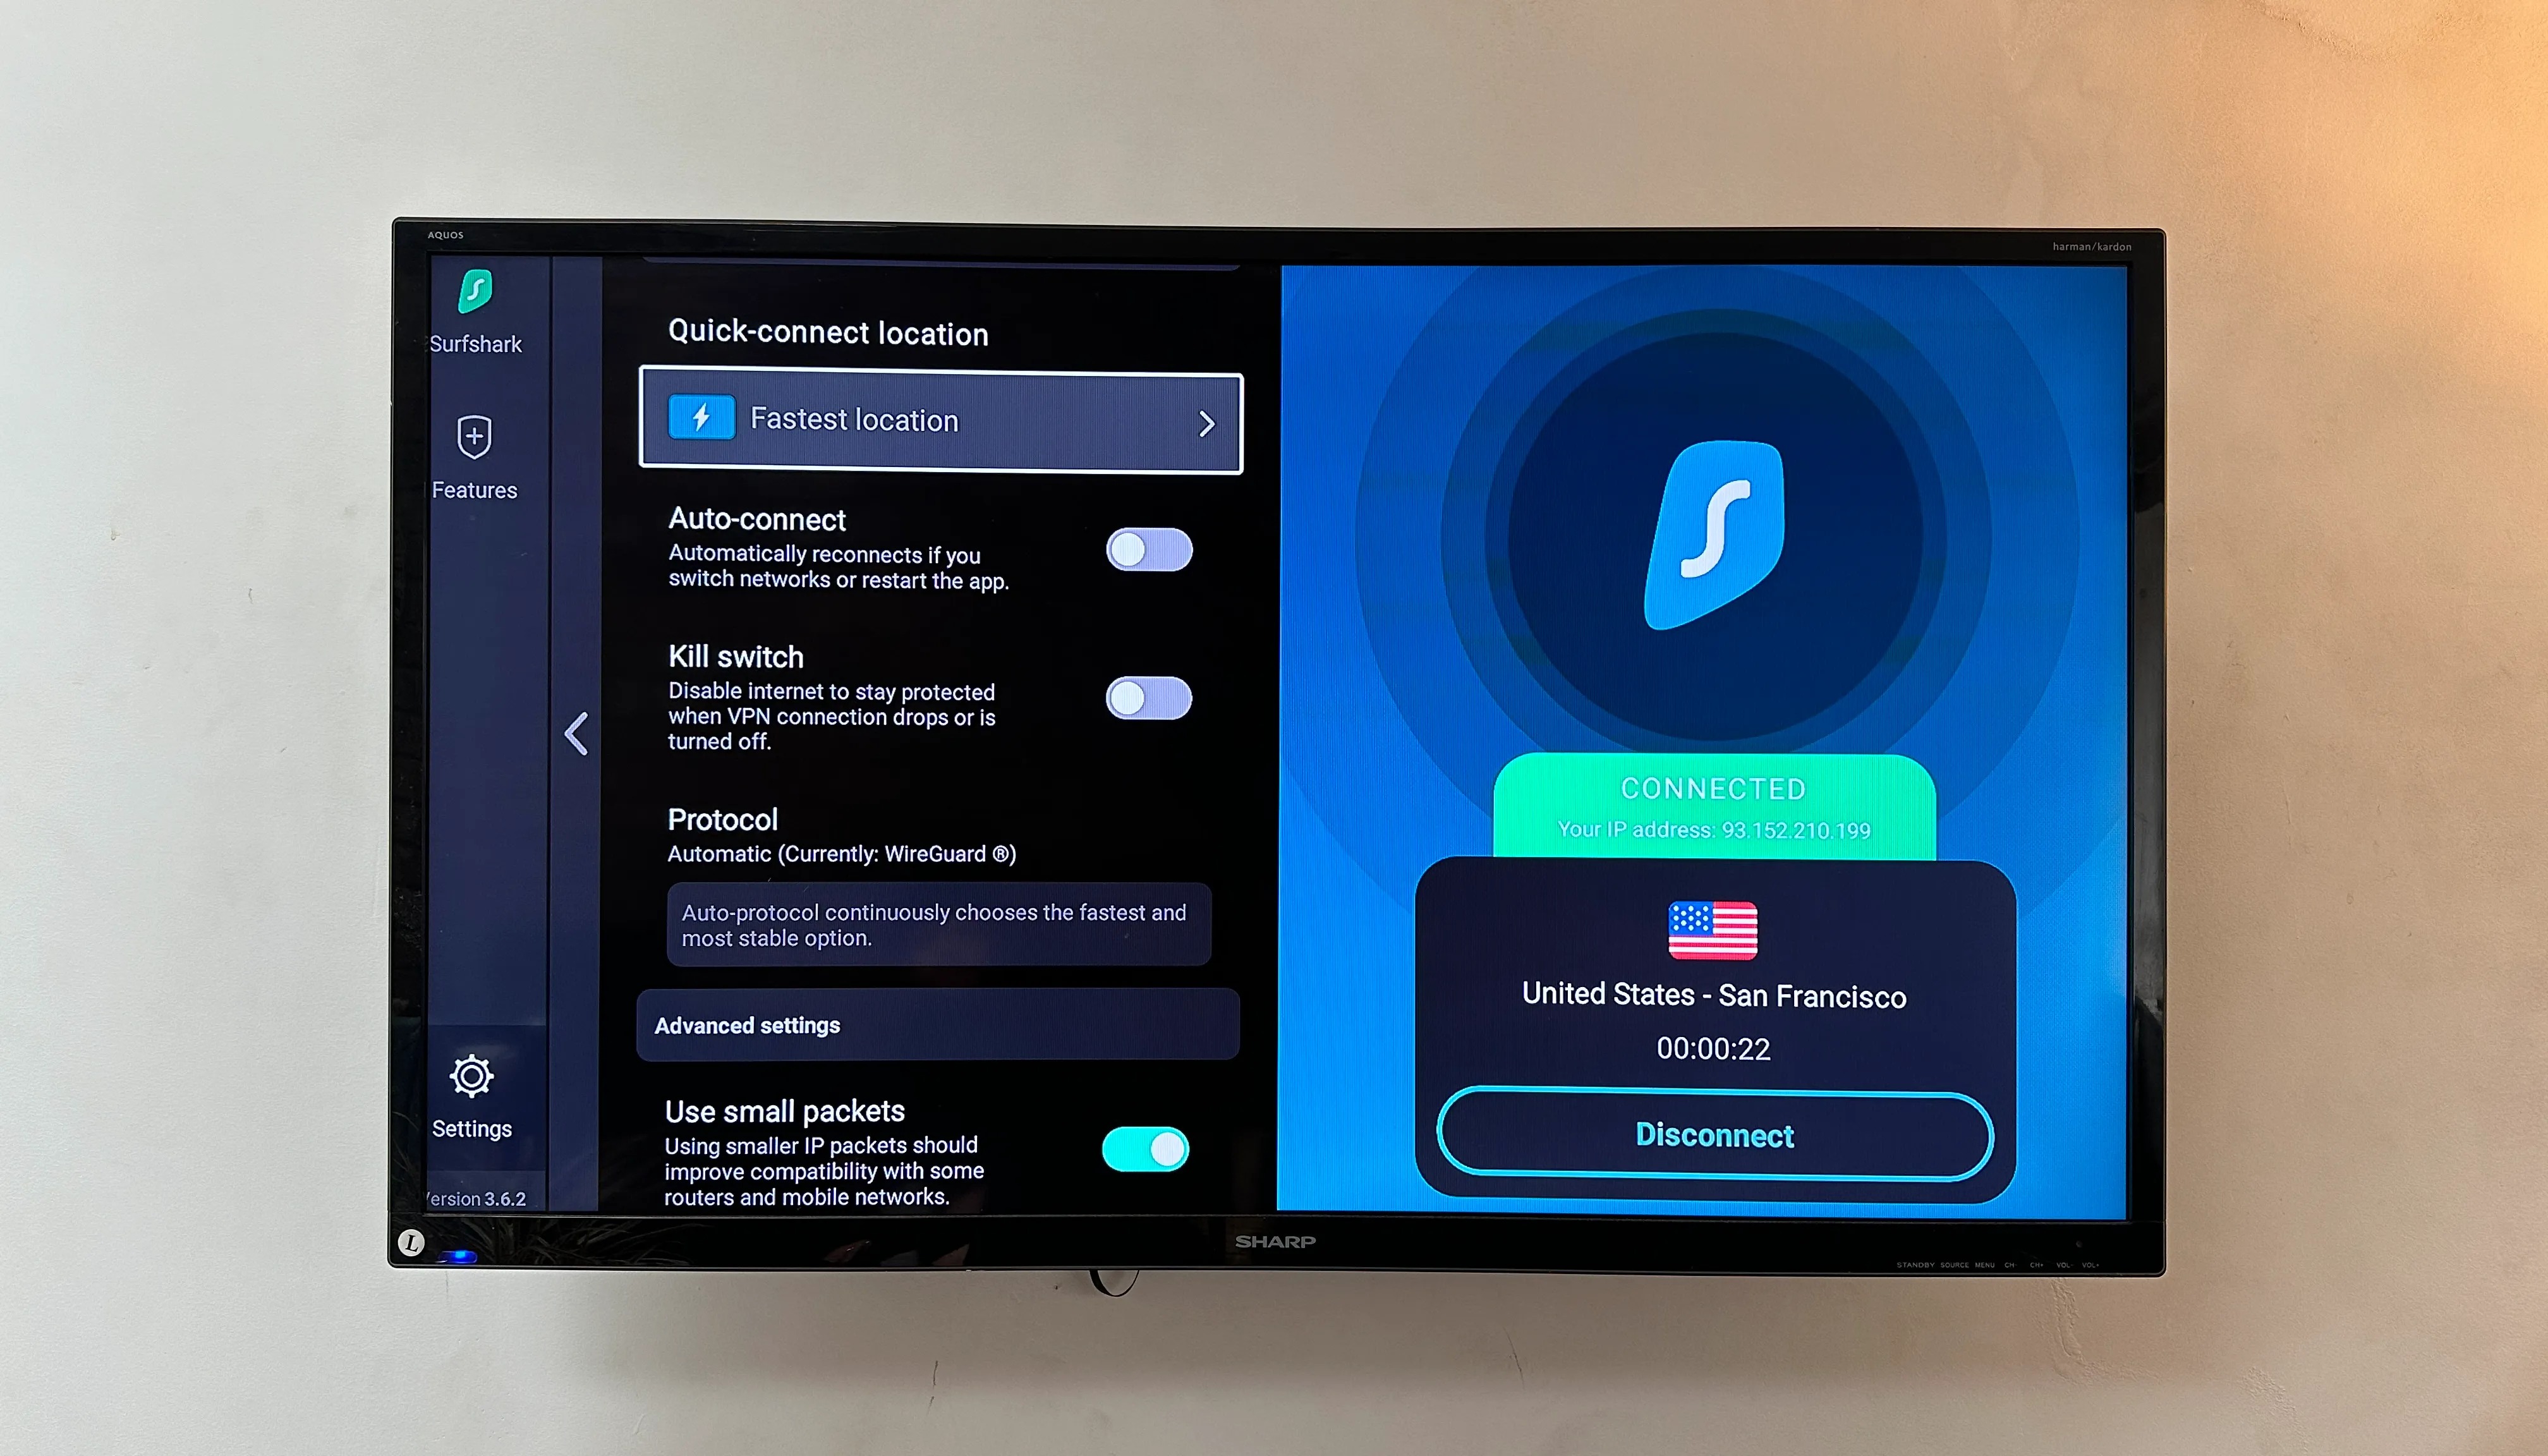
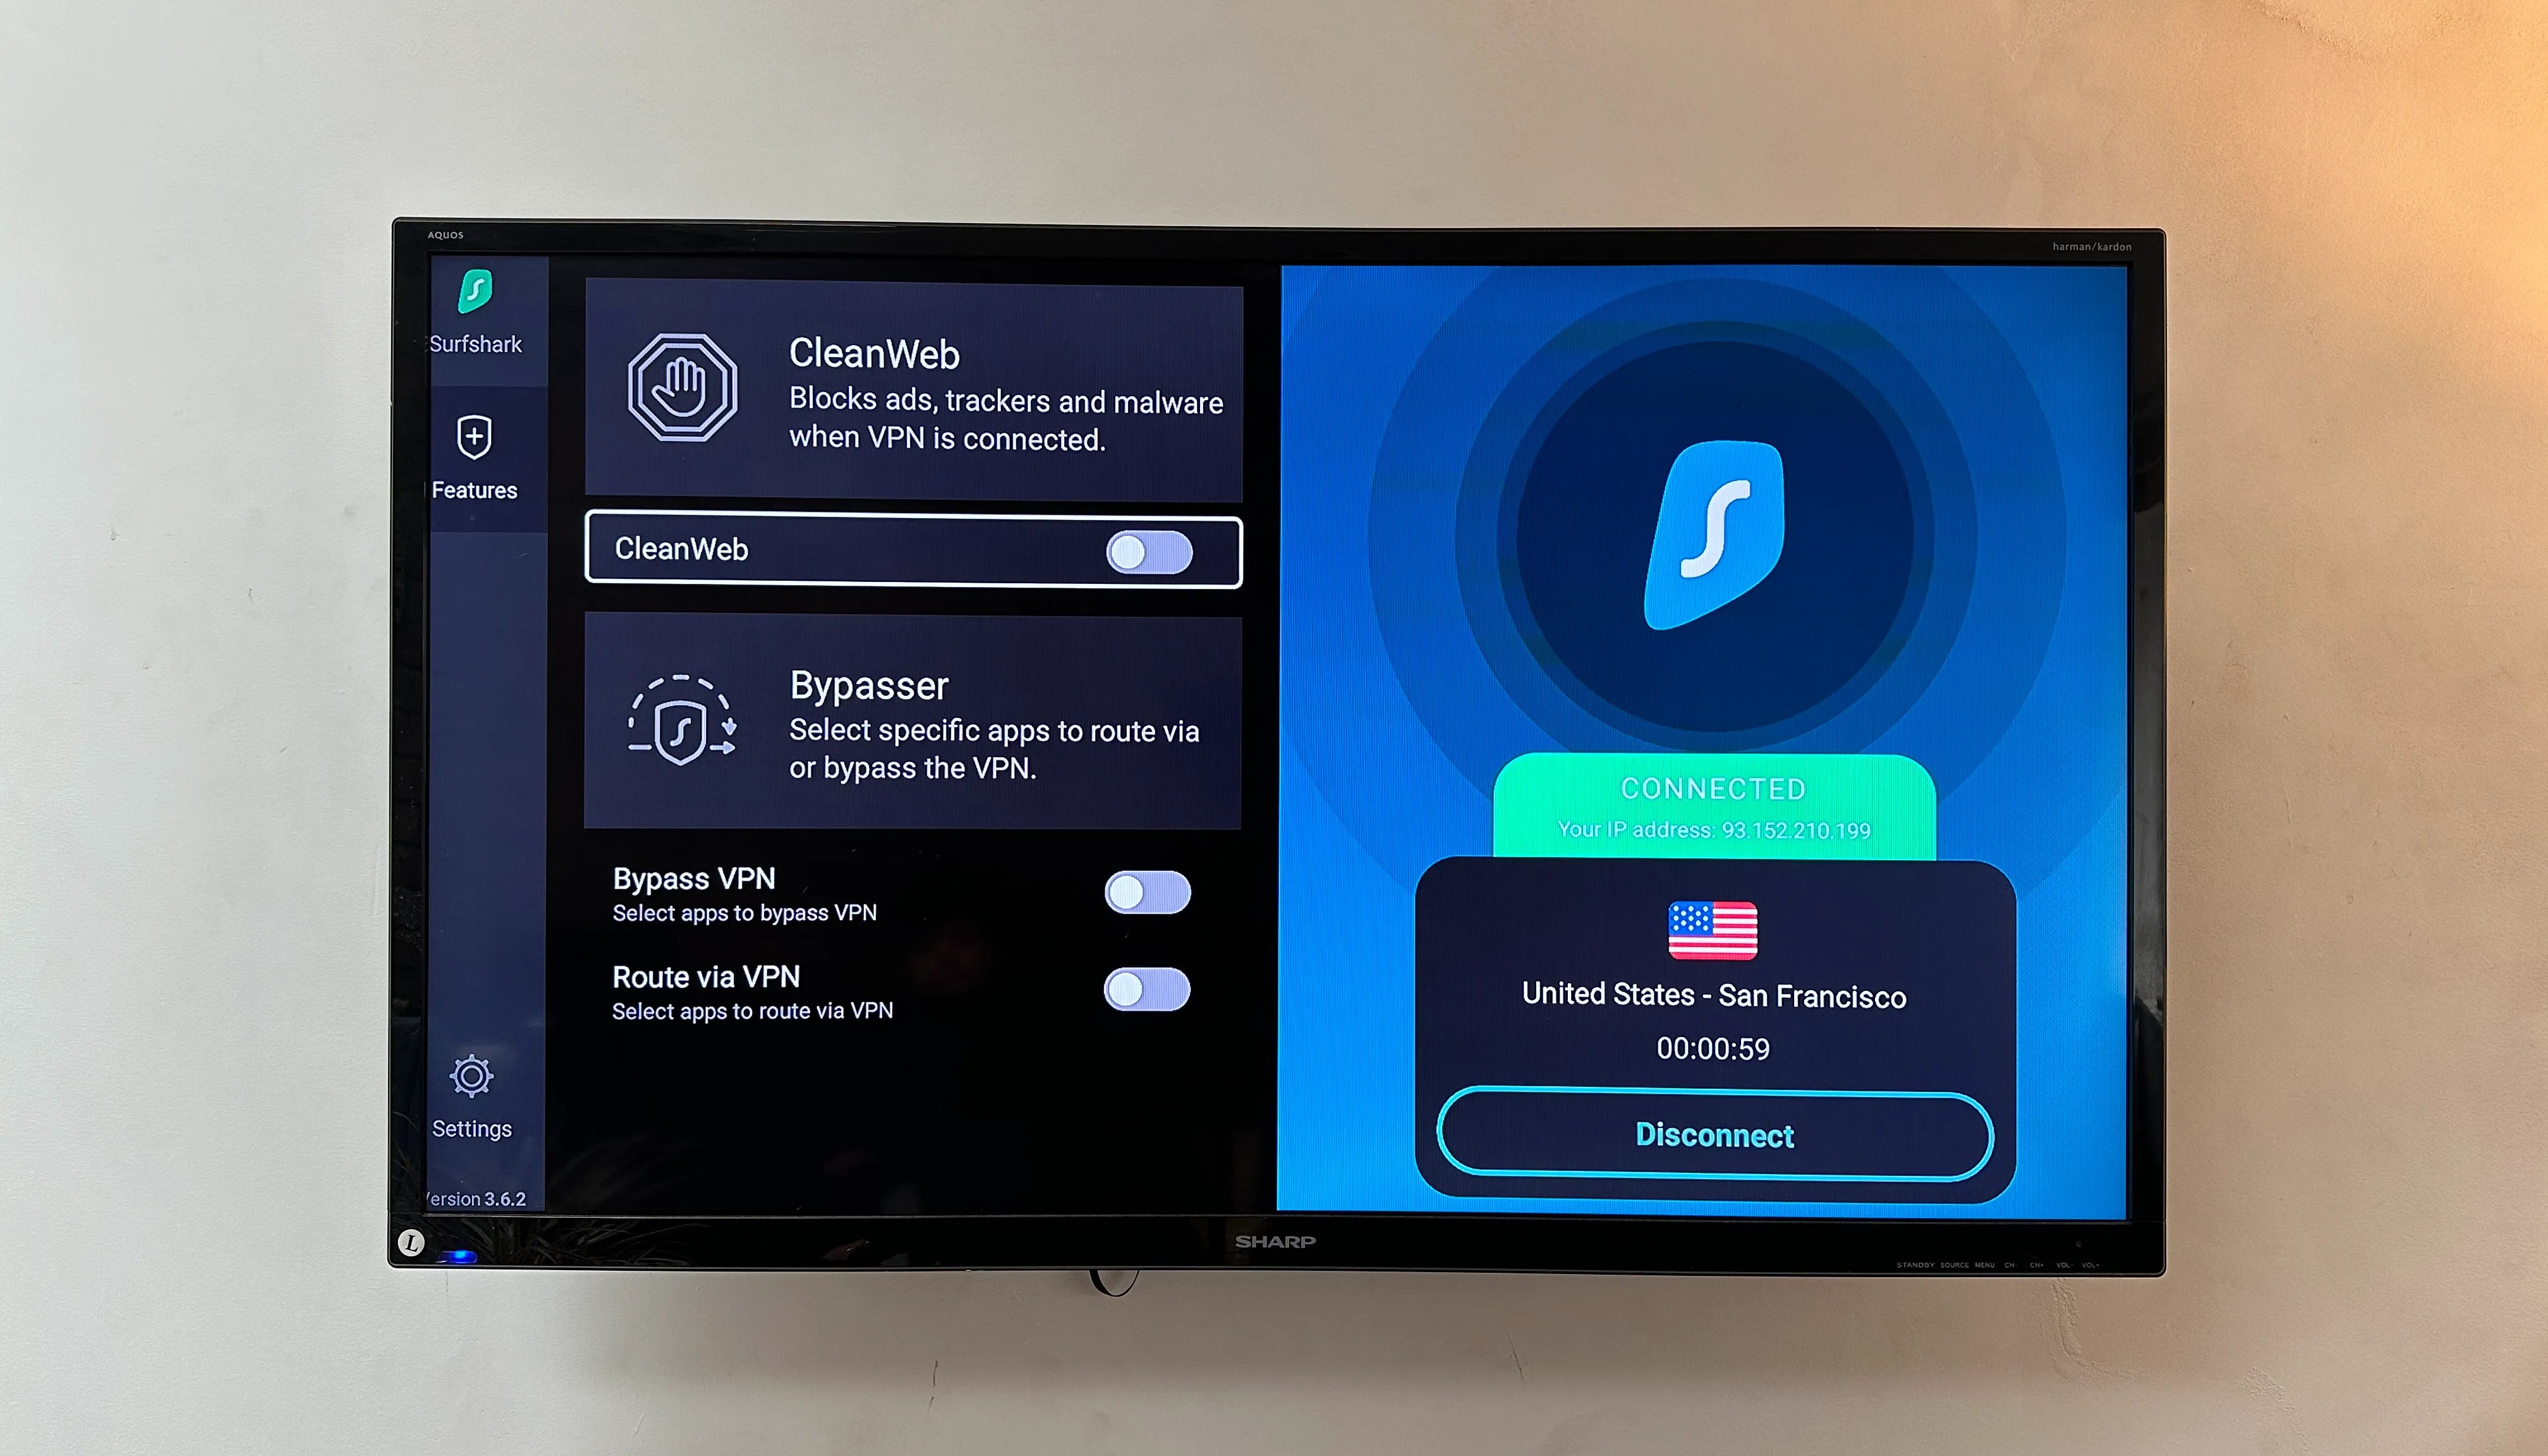
Autoconnect is available, as is a kill switch to protect you should your VPN connection drop out.
you’re free to change your protocol although the vast majority of people should stick to WireGuard.
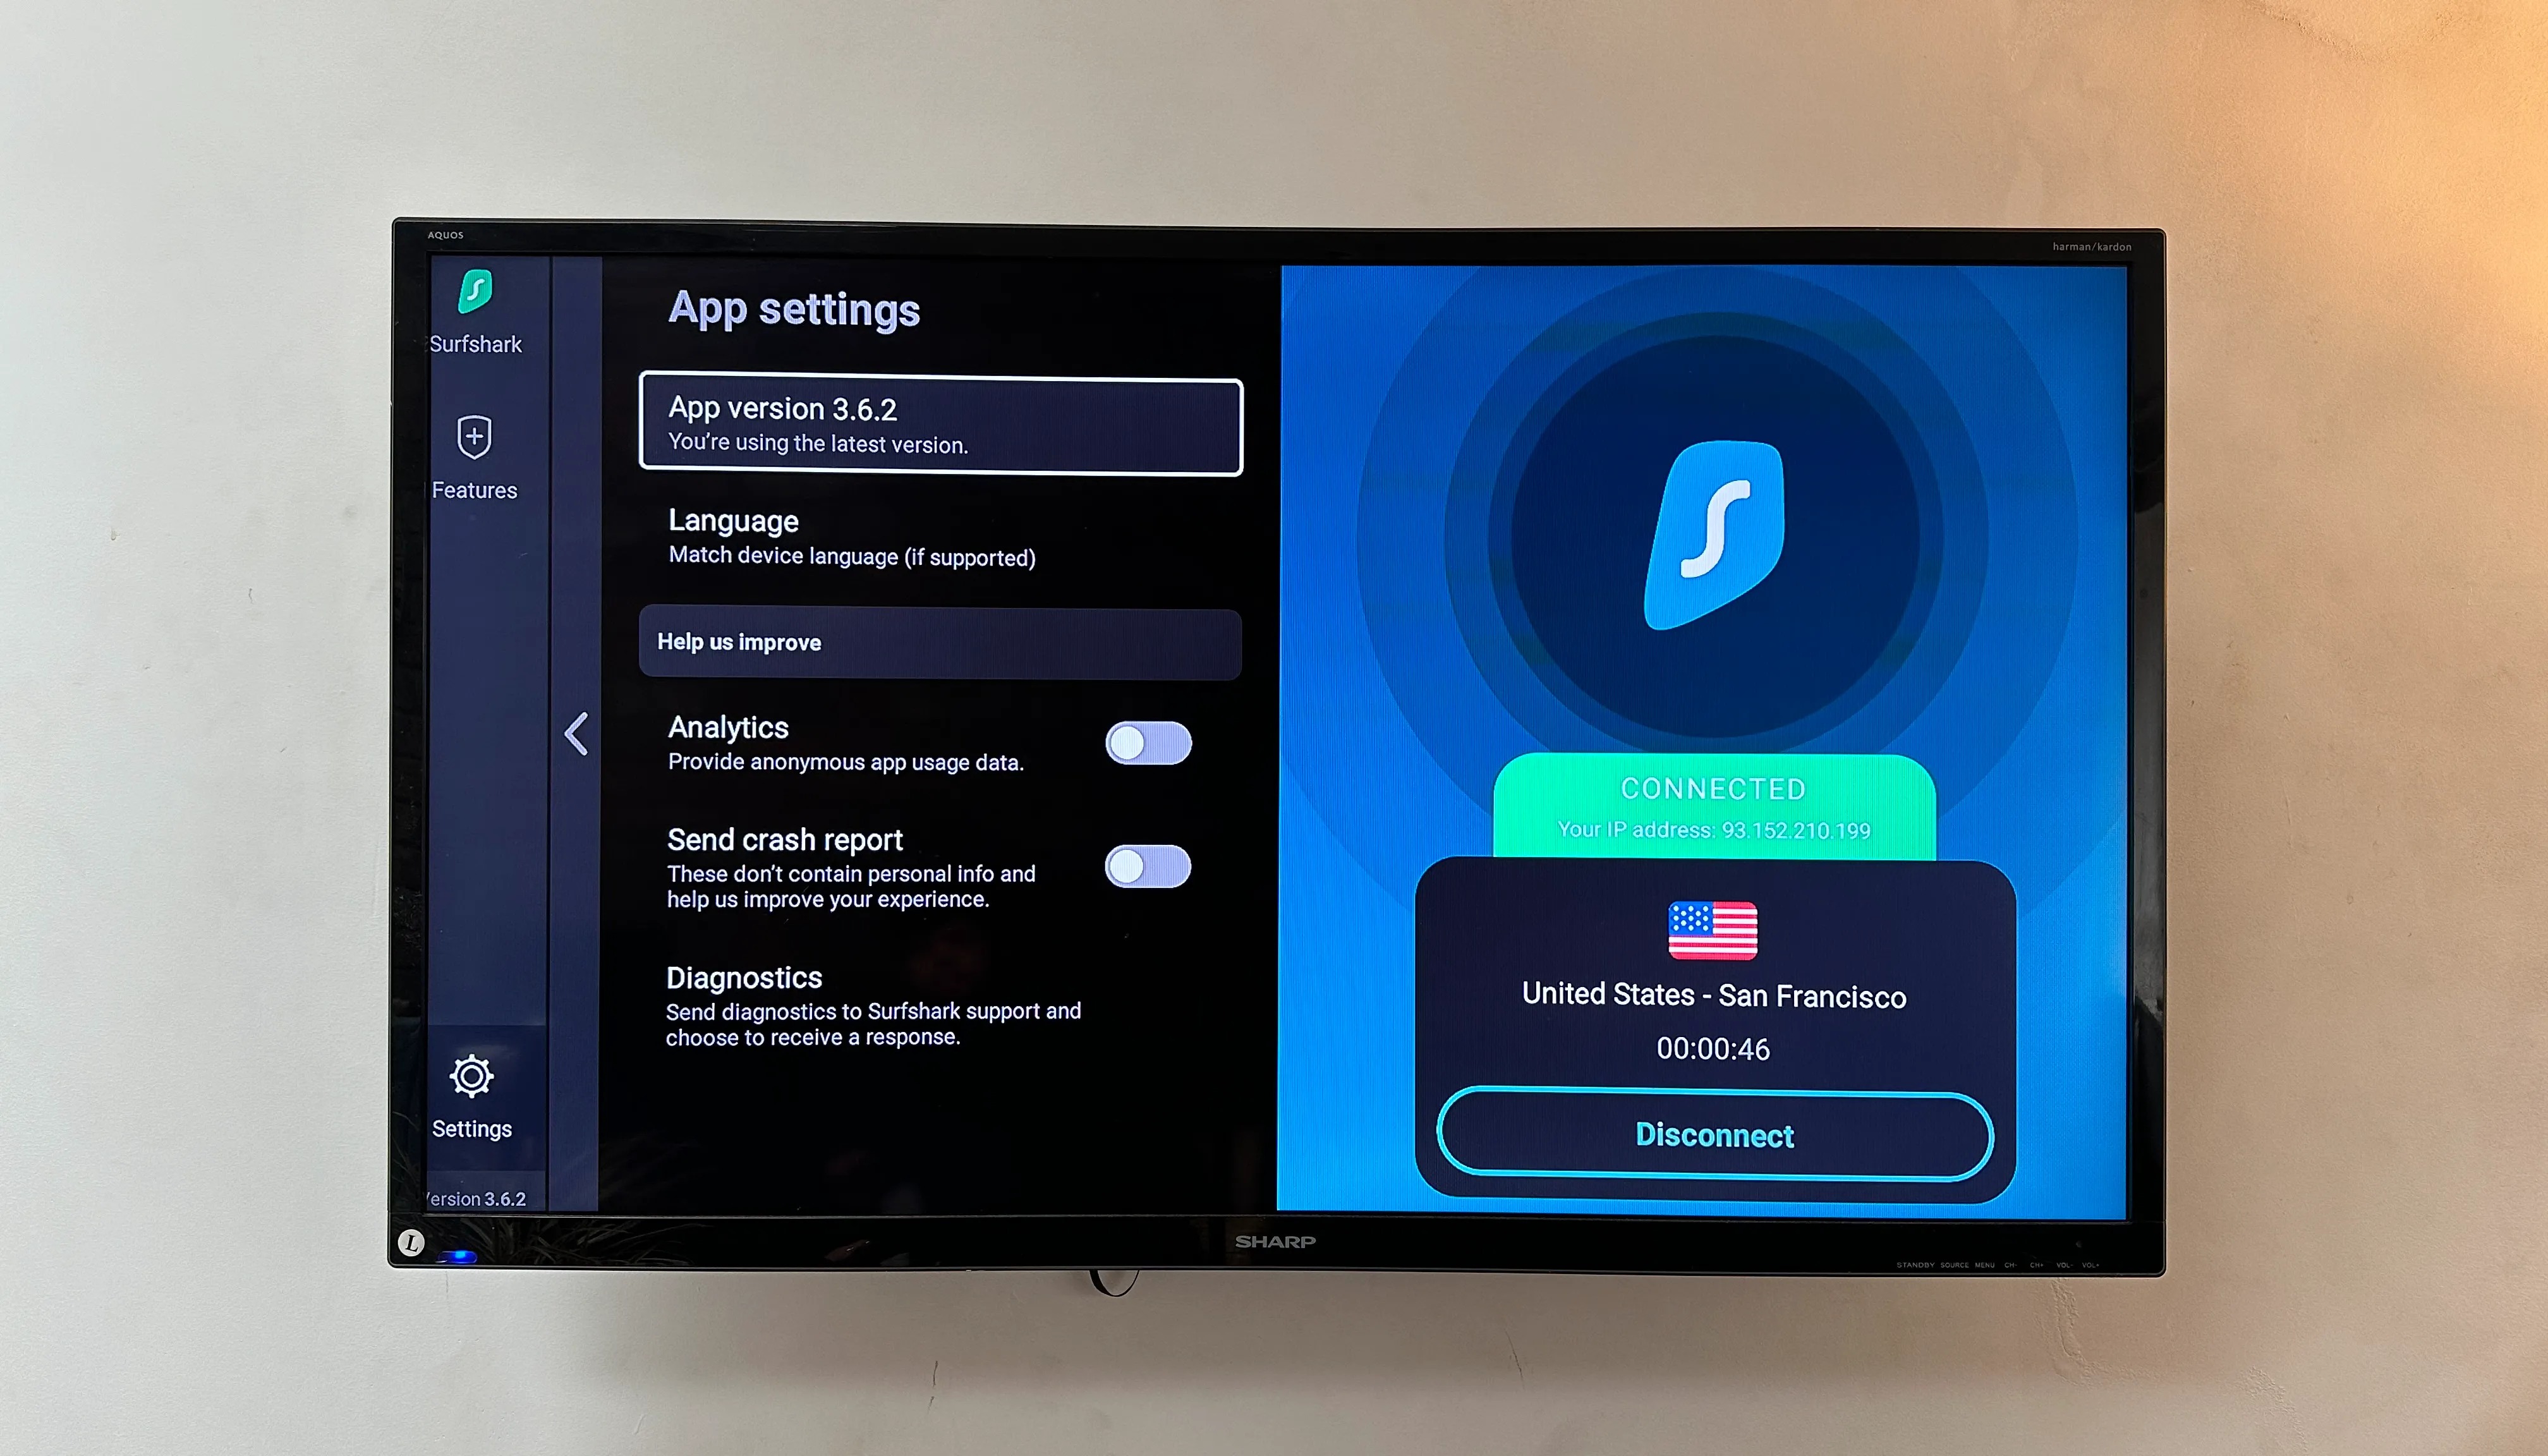
Further down the parameters page, it’s possible for you to adjust what data you share with Surfshark.
(Image credit: Future)
Once you’re there, select it, and select “Uninstall”.
You could also use the play/pause button to do the same thing.
(Image credit: Future)
(Image credit: Future)
(Image credit: Future)
(Image credit: Future)
(Image credit: Future)
(Image credit: Future)
(Image credit: Future)
(Image credit: Future)
(Image credit: Future)
(Image credit: Future)
